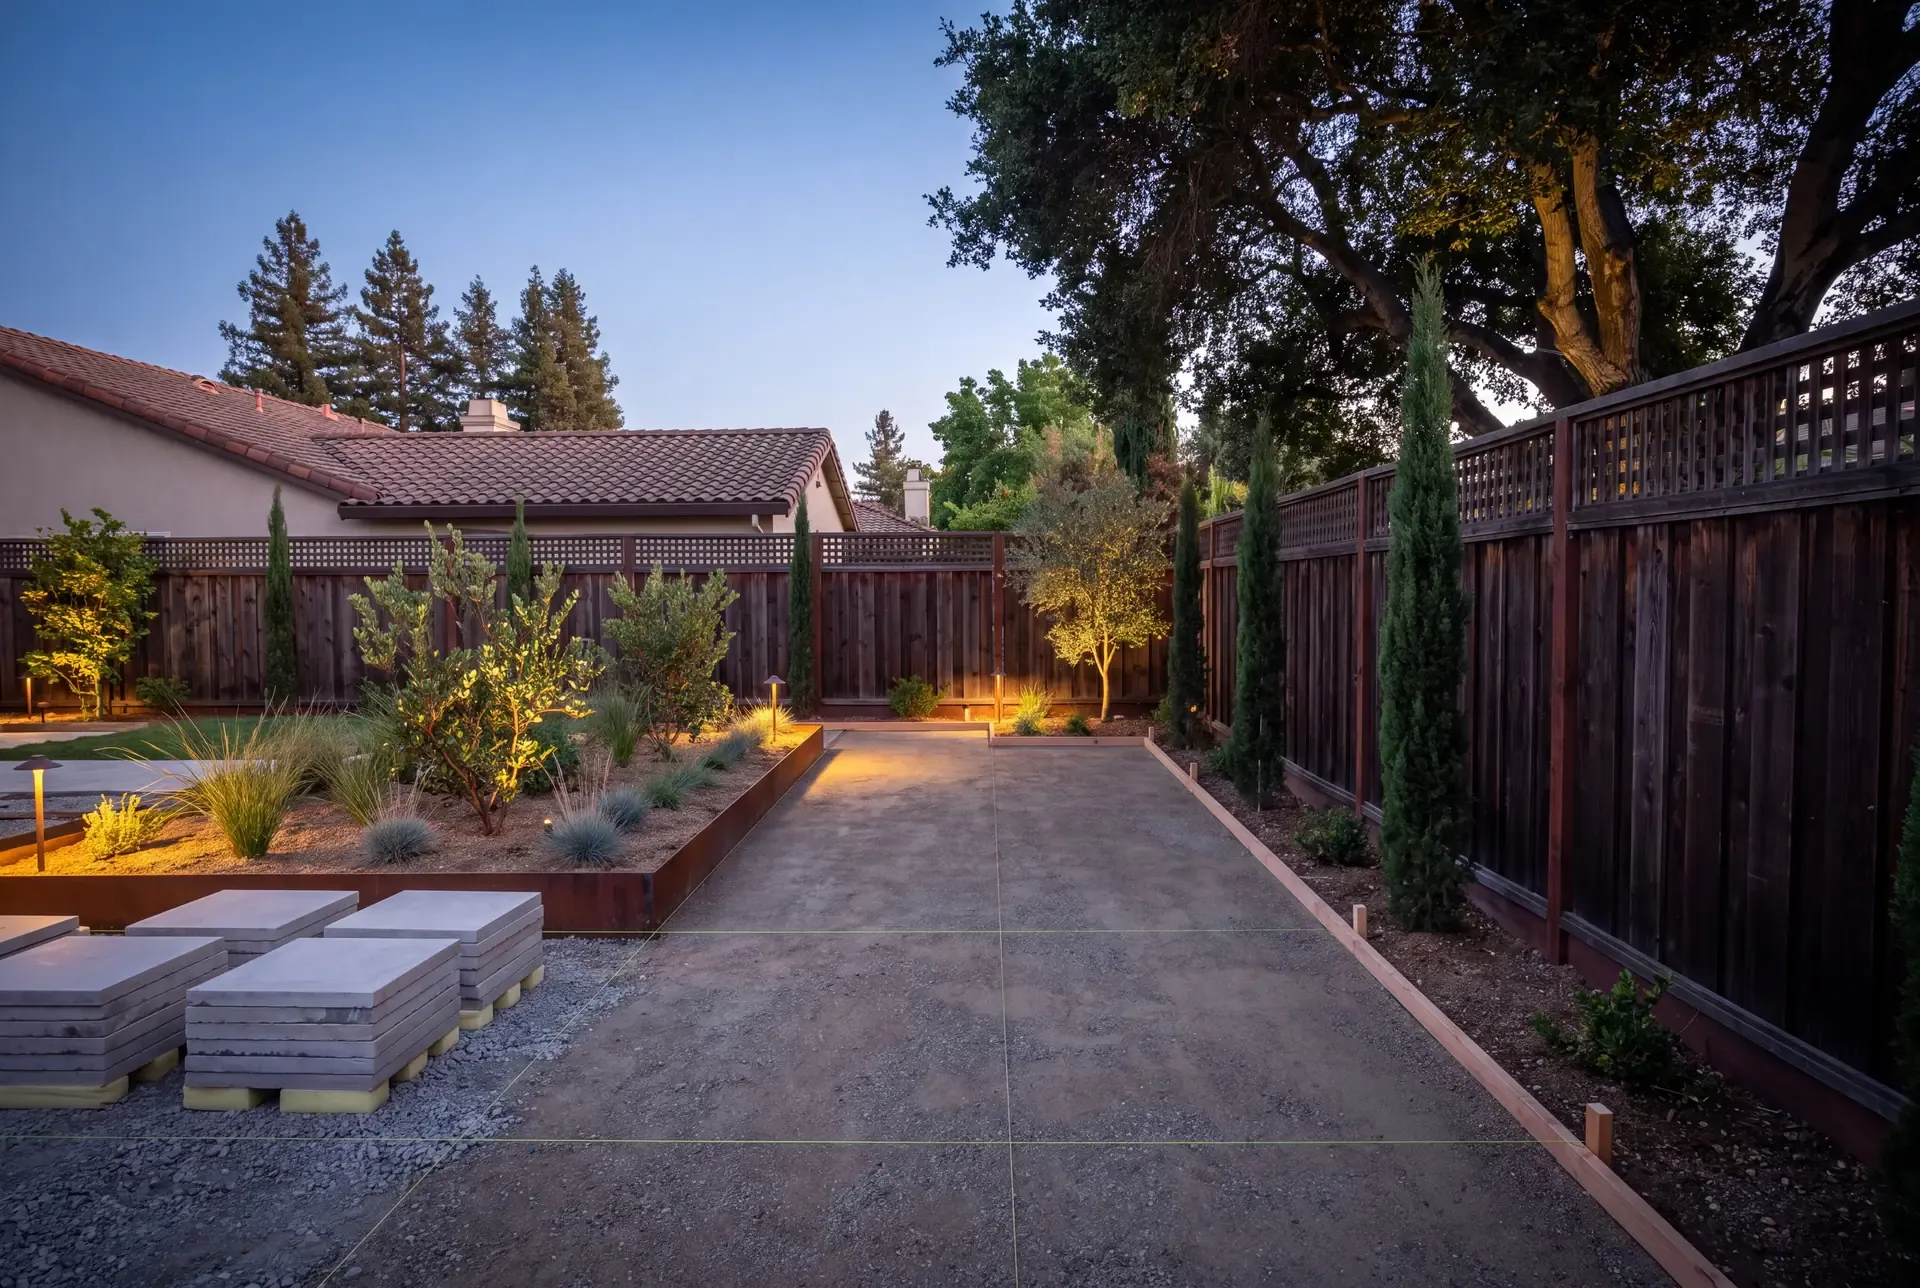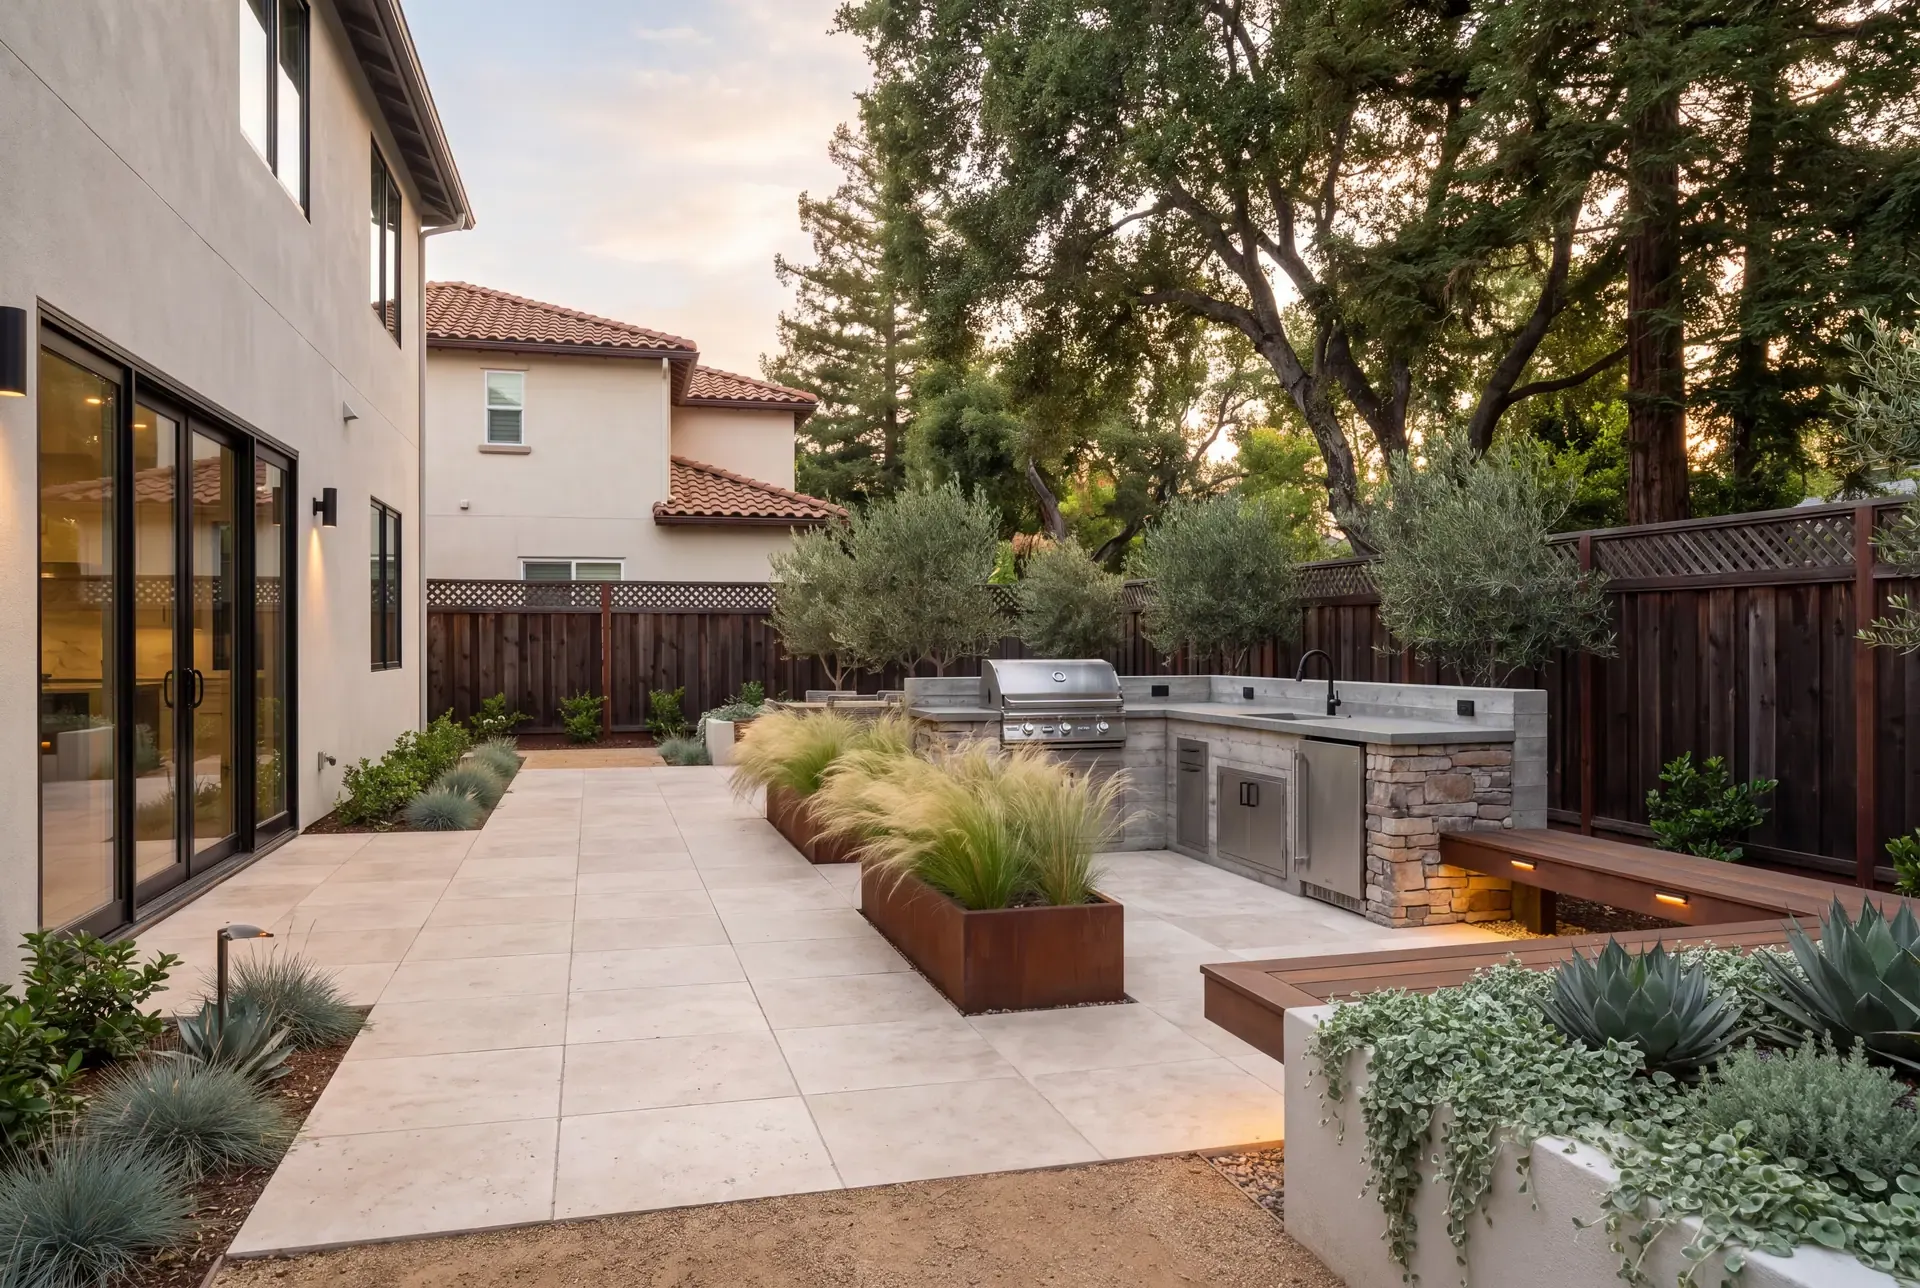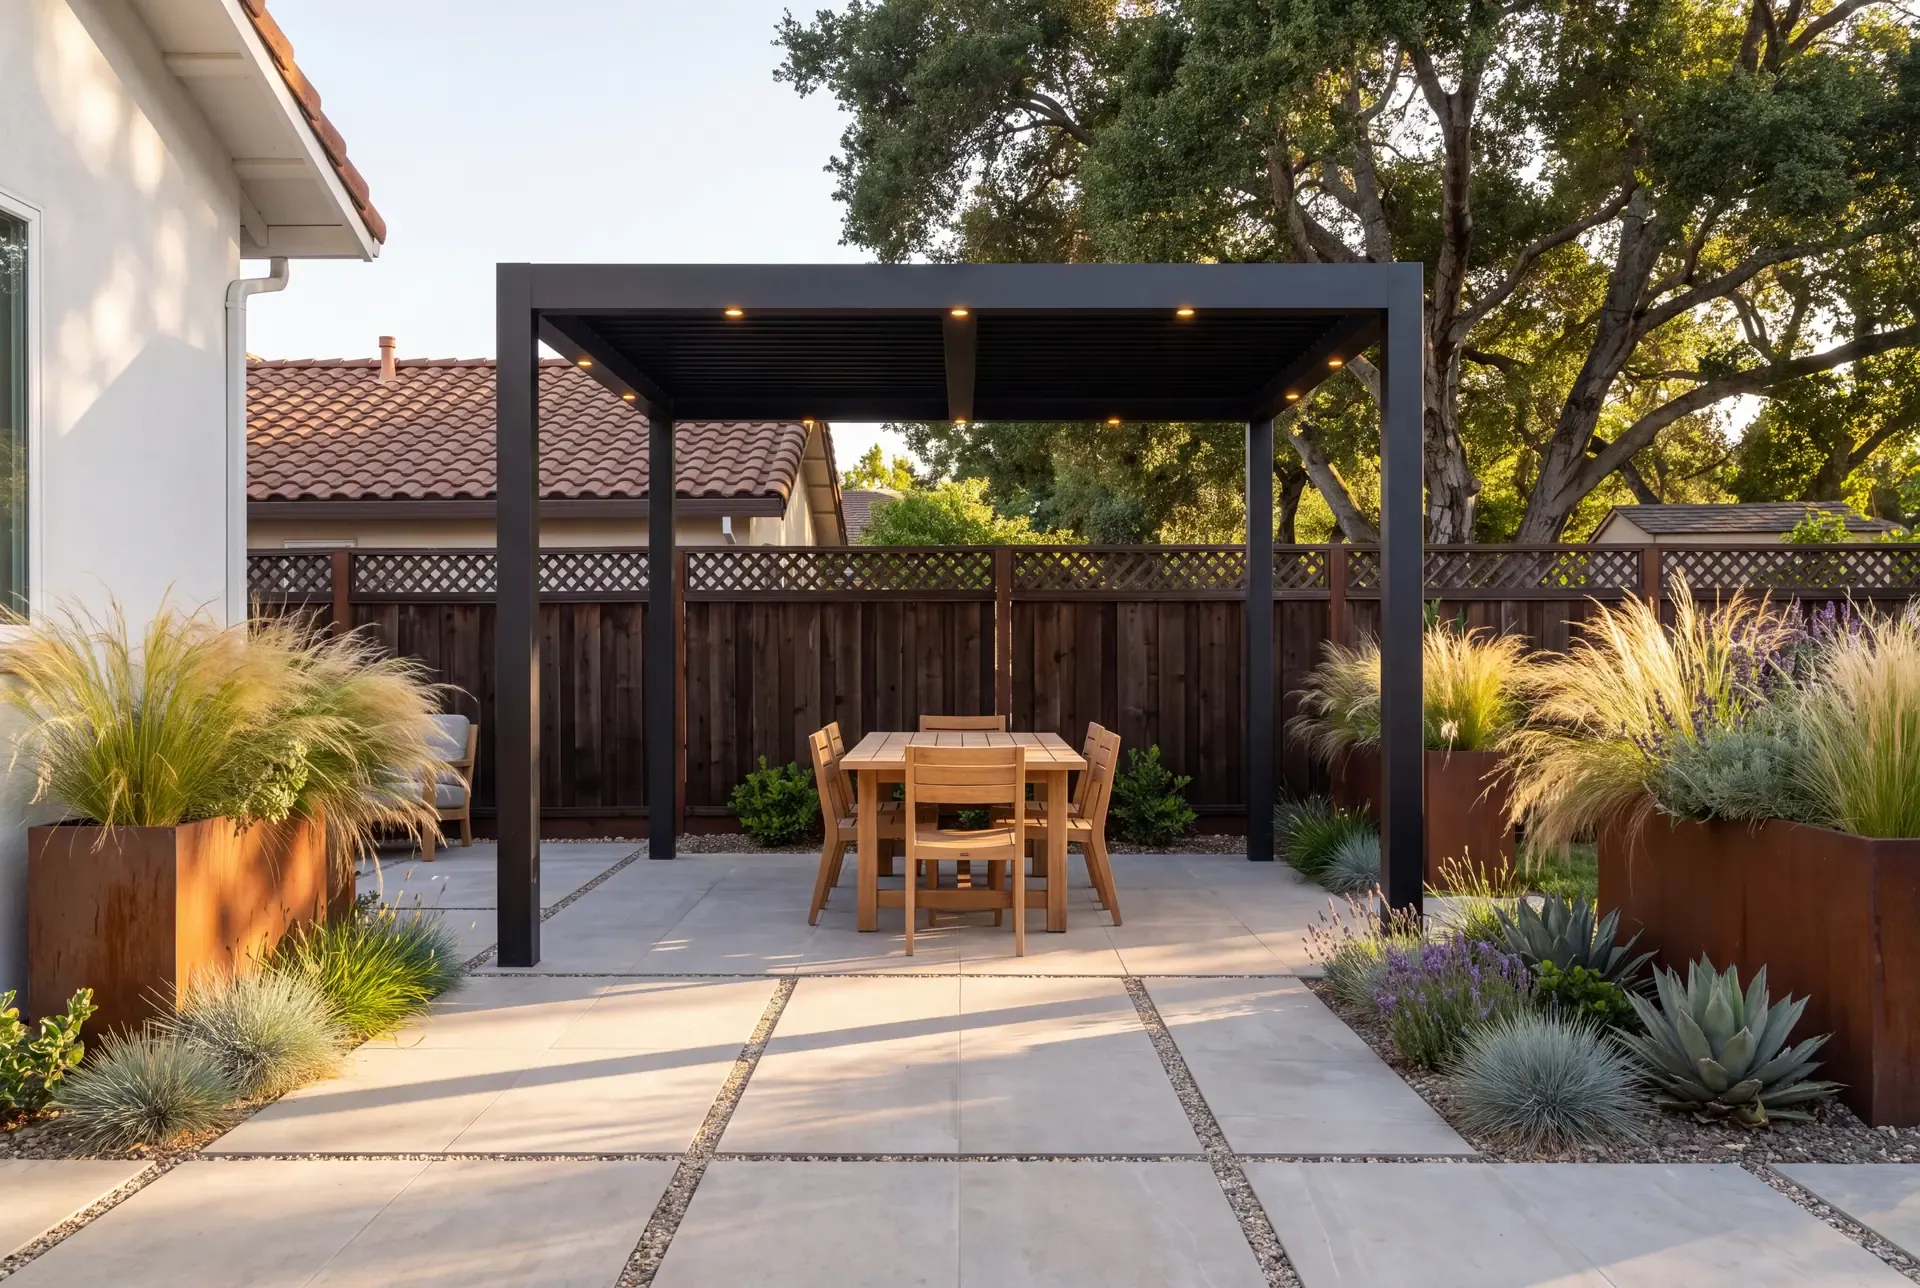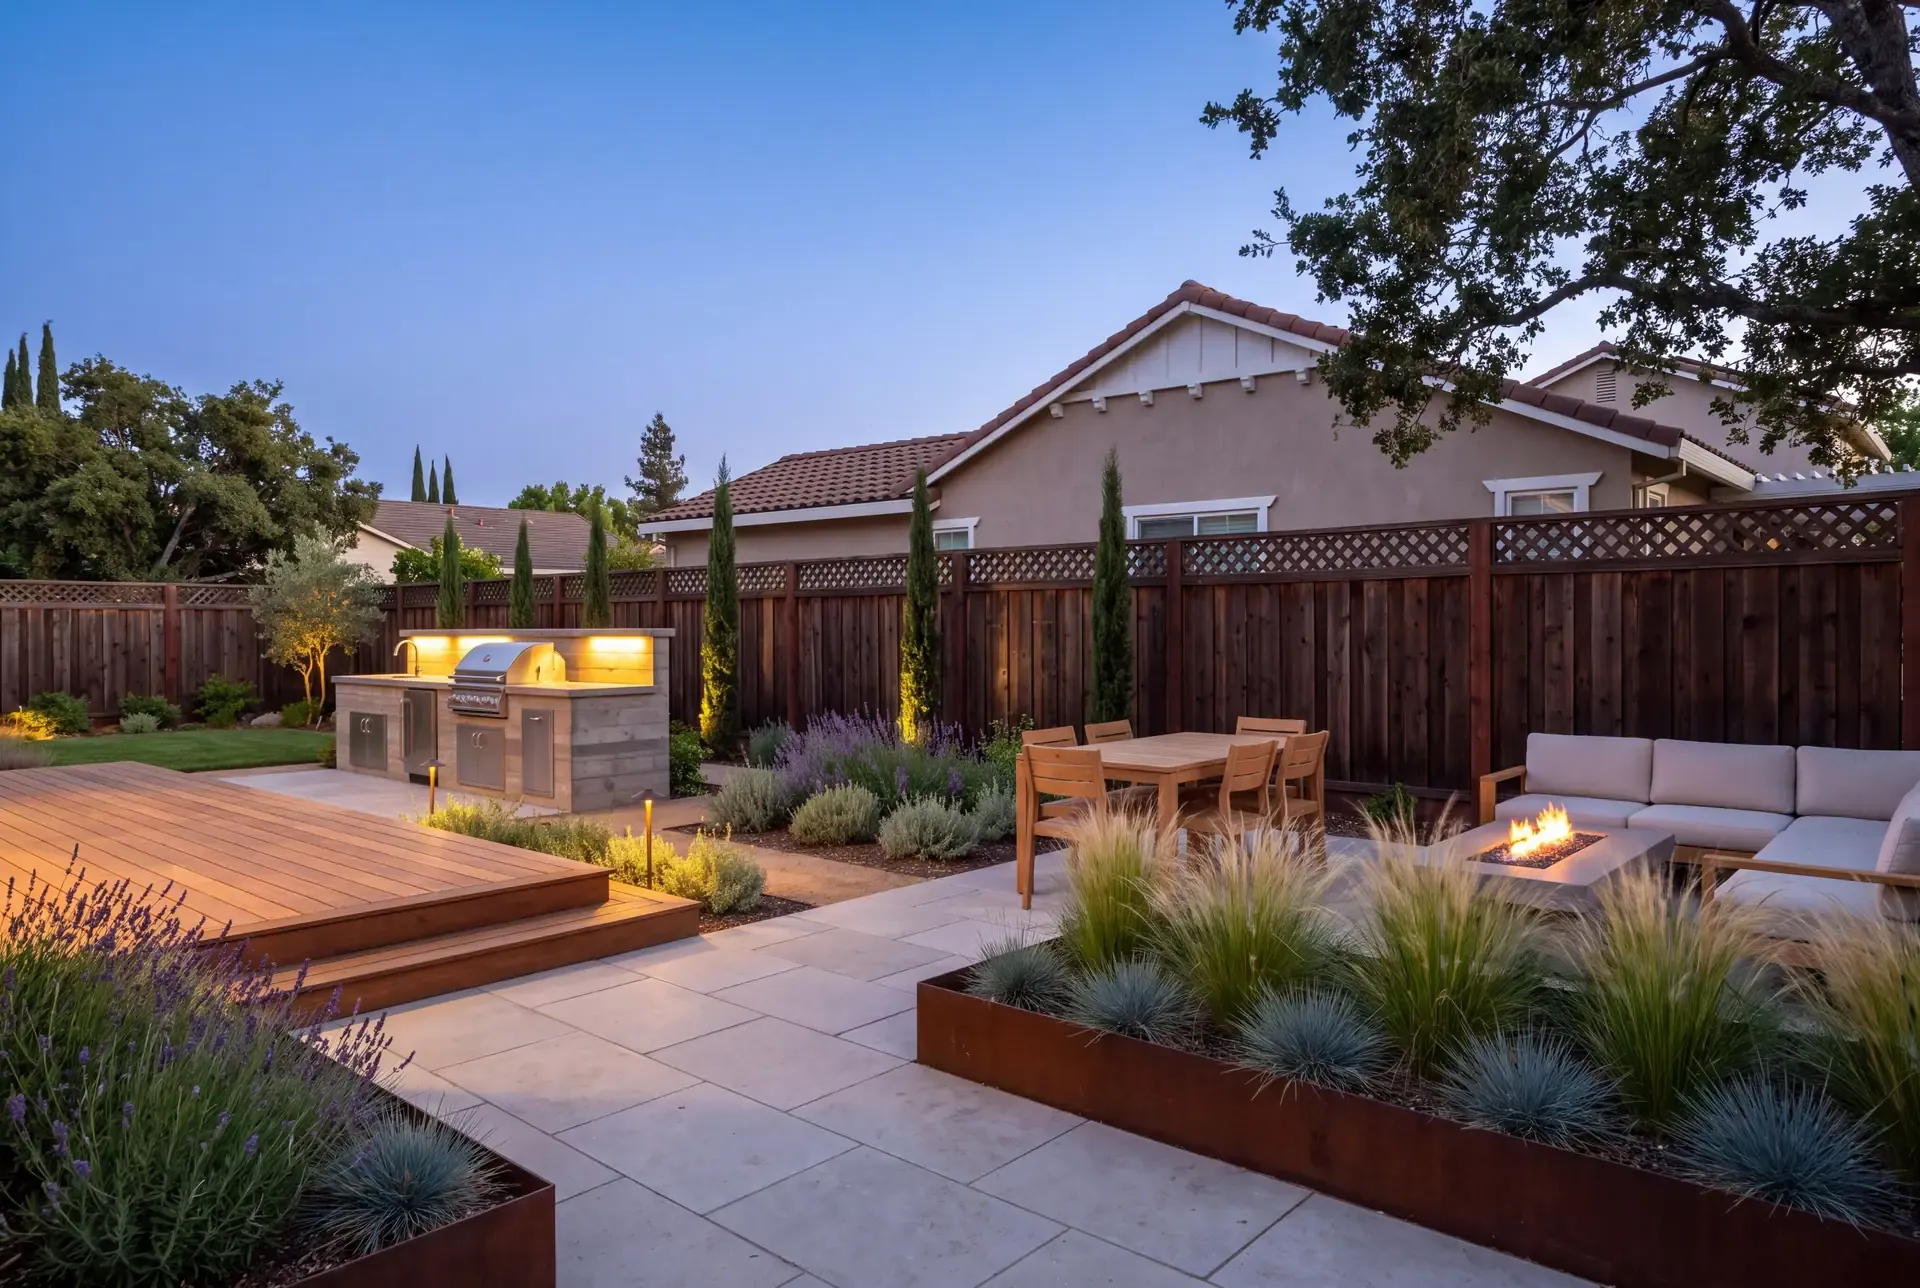
A well-executed 3D rendering communicates spatial relationships, material palettes, and overall mood far better than a floor plan alone. But it is a communication aid, not a photographic record. Knowing what renderings reveal — and what they routinely obscure — saves you from surprises once construction starts.
Why Dimensional Accuracy Matters More Than Mood
The most immediate test of any rendering is dimensional realism. A patio that looks spacious at a wide-angle perspective might barely fit a standard outdoor dining set when measured against the plan view. A walkway rendered as comfortably broad could compress to twenty-four inches on the drawing.
Always compare the perspective rendering against the 2D plan view. The rendering tells you how the space feels; the plan tells you whether furniture, circulation paths, and building-code-required clearances actually fit. If the rendering is your only deliverable, ask for a scaled plan as well. Floorplans and perspectives are meant to be read together, not substituted for each other.
Check these specific measurements while you are reviewing:
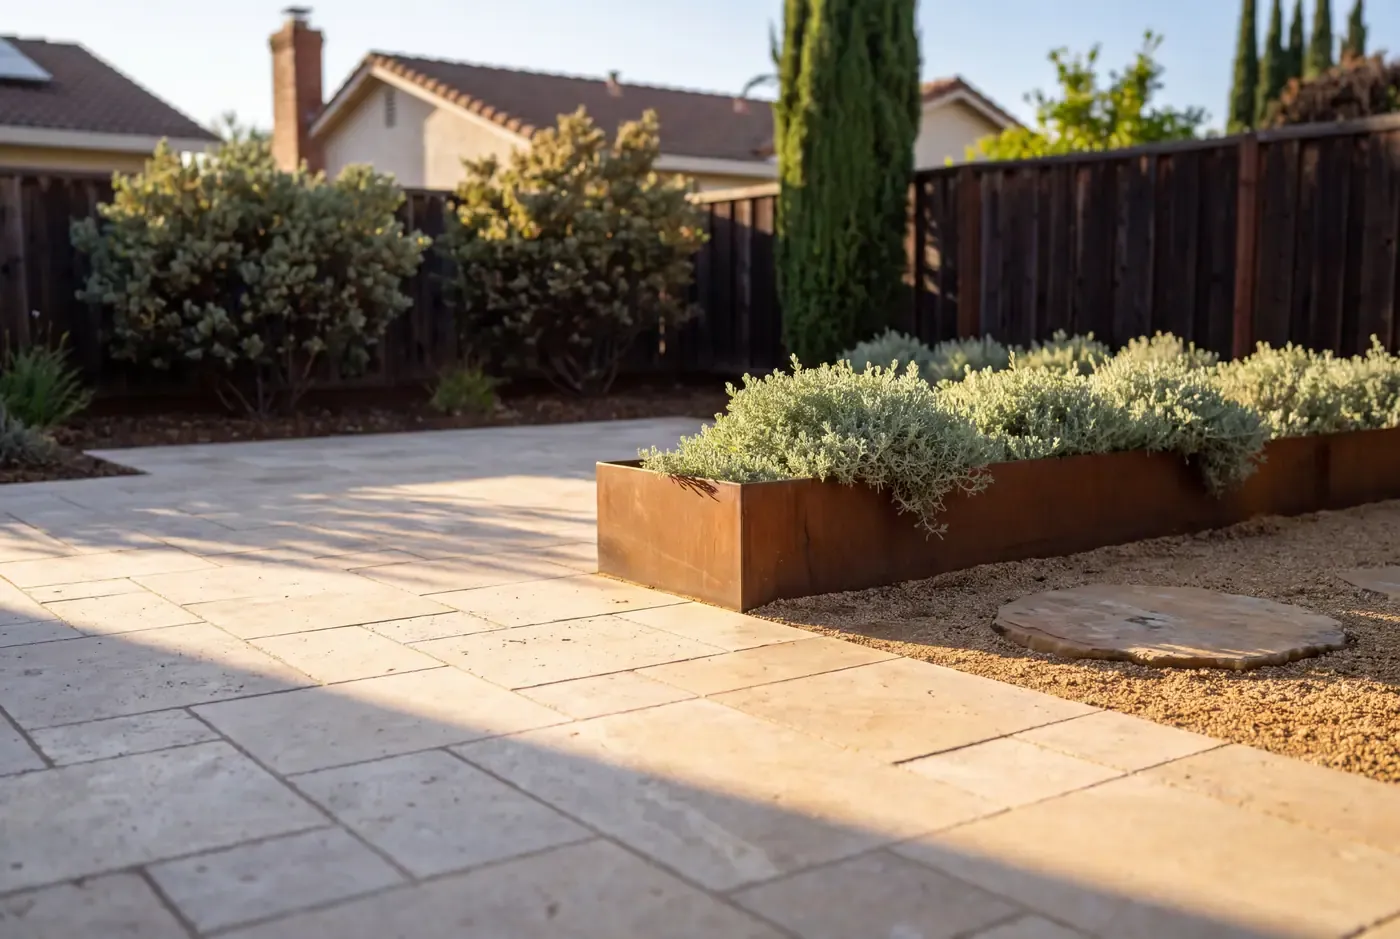
- Furniture fit — does the patio dimension accommodate your intended seating? A standard six-person outdoor dining set needs roughly ten feet by four feet plus clearance behind chairs. Anything smaller crowds people against edges.
- Walkway width — two people should pass comfortably on a main path without stepping onto adjacent planters or lawn. Thirty-six inches is a practical minimum; forty-eight inches feels generous.
- Clearance zones — door swing arcs, grill access, utility panel clearance, and hose-reel reach all eat usable space. Renderings almost never show these constraints.
- Gate and gate-way clearance — equipment and bulky items must travel through entry gates. A rendering that places a hot tub or large grill island against an interior wall may ignore the narrowest gate width entirely.
Planting Scale: The Single Most Common Disappointment
Homeowners frequently report arriving at their new backyard on opening day and realizing the trees are still saplings, the hedges barely clear the ground, and the privacy screen is a row of tiny tubes. That reaction is usually a failure of rendering communication, not a contractor shortfall.
Many firms draw planting at mature size because it makes the rendering look lush and compelling. The viewer walks away thinking the garden will appear established immediately. In reality, those features arrive from the nursery at one-third or less of that height.
Ask directly: "Are plants shown at install size or mature size?" A honest team will clarify this upfront and provide a separate plant list indicating both the size shipped and the expected dimensions at three and five years. Young plantings establish quickly under proper irrigation management, but patience during the first season is unavoidable.
This issue is particularly pronounced with specimen trees. A mature coast live oak or Italian cypress rendered at full height may ship as a fifteen-gallon container tree standing three feet tall. The structural form remains identical; only the timeline differs. Good rendering practice labels trees separately with a note clarifying install versus mature dimensions so expectations stay grounded.
Sun Angles and Shadow Placement
A rendering lit from a dramatic west-facing golden angle creates warmth, but that light exists for roughly forty minutes in late afternoon and only on a cloudless day. The rendering may hide harsh midday exposure on a south-facing wall or, worse, cast deep shadow where you want gathering space.
If you know your property orientation, you can approximate solar conditions yourself. In the Northern Hemisphere:
- South-facing walls receive sun for the majority of the day, including strong midday intensity in summer
- East-facing spaces catch morning light and cool by afternoon — excellent for dining and workspace comfort
- West-facing patios bake hard in late summer afternoons unless shaded by a cover or pergola
- North-facing areas stay cool but may feel cold and damp through much of the year
Professional renderings generated with solar-analysis software account for true azimuth and date-specific sun angles. If the rendering was produced with generic studio lighting, request that the designer run it through a basic solar simulation before final approval. This step catches glaring problems that become obvious only after construction finishes.
Some design packages include shadow studies for solstice dates, which show maximum and minimum sun exposure. These help evaluate whether a proposed seating area survives July heat or sits frozen all December.
Drainage Direction in Perspective Views
Perspective views flatten slope information by definition. Water flow is invisible at eye level unless explicitly annotated. A rendering showing a perfectly flat patio beside a house could represent a surface falling toward the structure at a quarter inch per foot — enough to create moisture intrusion issues over time.
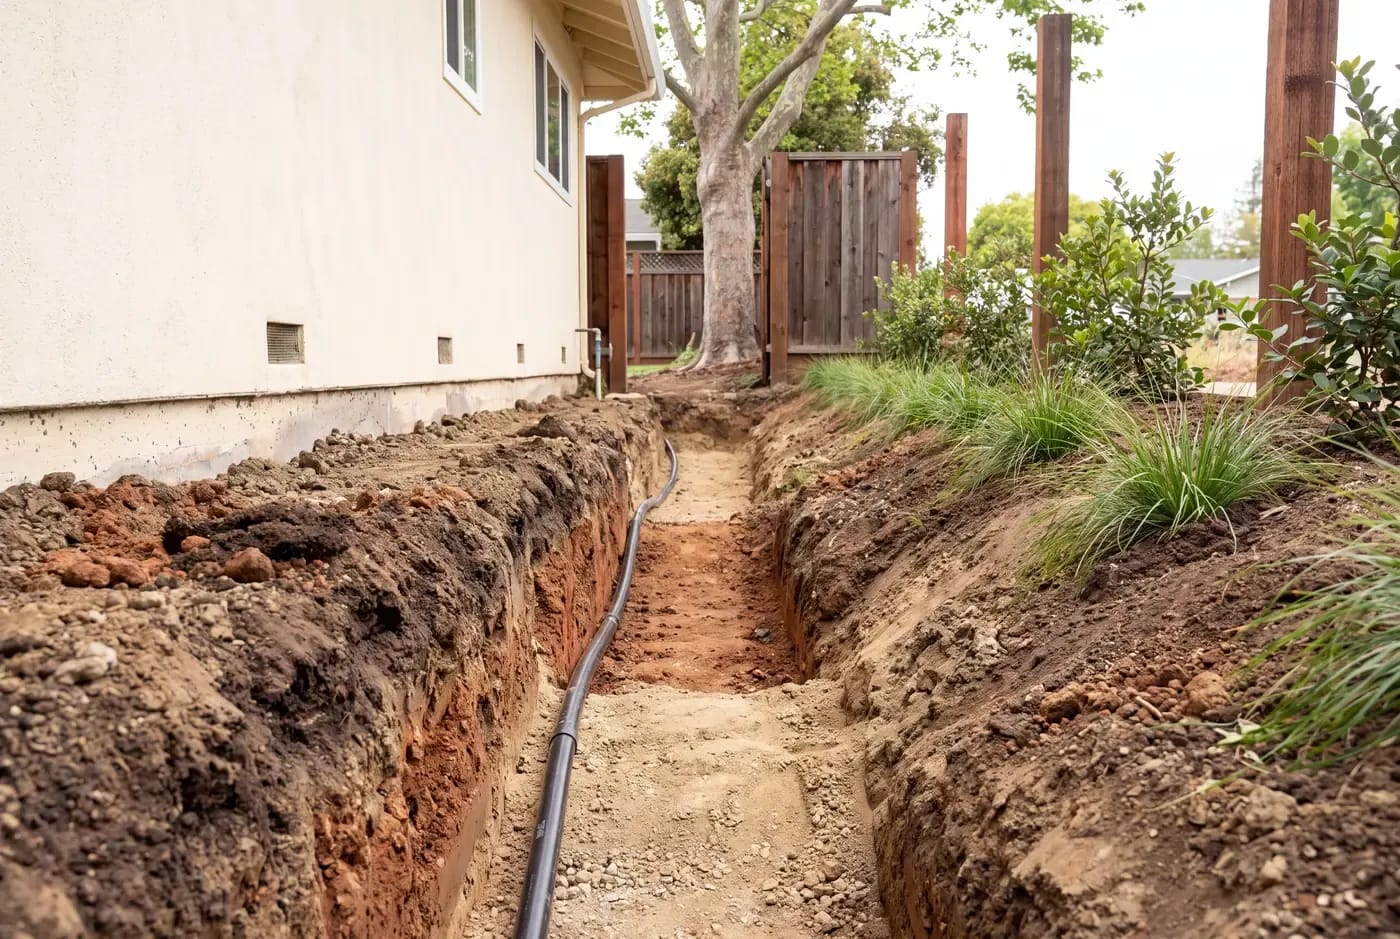
The grading plan is the document that resolves this question. Slope annotations, contour lines, and catch-basin callouts all live on the plan sheet, not in the rendering. During review, ask someone to walk you through the drainage strategy for the site: where does rainwater go, how does subsurface French drain or swale water exit, and where does downspout discharge connect?
If the answers sound vague, push for clarity before approving. Poor drainage planning is one of the costliest mistakes in outdoor construction, and catching it during the design phase costs nothing compared to fixing it after concrete pours.
Material Detail Verification
Renderings excel at conveying color harmony and texture families. They struggle with joint patterns, tile cuts, and fixture proportions. A rendering might suggest travertine laid in a simple rectangular pattern when the plan calls for a complex basketweave or herringbone. The visual difference between those layouts is substantial.
Request a material sample board to review alongside the rendering. Physical samples placed in natural daylight reveal undertones and surface textures that screens and printers compress into flat images. Stone varies within a batch — the warm honey tones in a rendering may lean cooler or darker in the actual quarry shipment. Seeing real specimens prevents mismatched expectations on delivery day.
Similarly, ask about fixture specifications. Renderer-supplied 3D libraries include products from different manufacturers at inconsistent scales. An outlet grating shown as a large square vent might ship as a narrow channel grate. Confirm appliance dimensions, valve-cover sizes, and lighting housing profiles against manufacturer data sheets before construction.
Furniture Scale and Sightlines
Furniture placement in renderings is sometimes aspirational rather than analytical. Oversized sectional sofas squeeze into patios too narrow for comfortable circulation. Low coffee tables vanish beneath the visual dominance of tall pergola beams. These mismatches rarely cause structural problems but degrade daily usability.
Compare rendered furniture against actual product dimensions from catalogs or retailer websites. Outdoor sofas listed at eighty-four inches wide do not shrink to fit a rendered patio that looks bigger than the floorplan supports.
Also evaluate sightlines from multiple vantage points, not just the hero angle. The rendering likely uses the most flattering camera position — elevated, angled to showcase the entire feature array, with background clutter removed. Request views from typical standing positions (the kitchen window looking out, the primary seating arrangement) and from the neighboring property line to assess privacy implications.
Grade Changes and Step Consistency
Steps, retaining-wall cap heights, and deck-to-patio transitions must obey consistent vertical dimensions throughout a space. A rendering might show a three-step descent from a raised planter to the patio, then a second set of steps at a slightly different rise — say seven inches versus eight inches per tread. Both look fine in isolation but create an awkward walking rhythm that causes tripping.
Verify step rises on the plan view. Building codes specify maximum and minimum tread dimensions for safety. A qualified design team cross-references these requirements during development rather than waiting for a plan-check rejection later.
Consistent risers matter more than individual step dimensions. If every tread measures the same rise and run, human legs adjust automatically. Inconsistency produces hesitation on every step, and hesitation near elevated edges creates genuine fall risk.
Neighbour Structures and Realistic Context
High-quality renderings include neighbouring houses, fences, and streetscape elements at correct scale and setback distance. Low-effort renders replace everything beyond the property boundary with a soft-focus blur or generic treeline. Neighbour visibility matters for privacy planning — does the rendering honestly show sightlines from a second-storey neighbour window? Can an adjacent roofline be seen from your planned seating area? These observations inform screening strategies — latticework, strategic planting, or solid fencing — that belong on the plan before permits are pulled. Conversely, removing all contextual elements creates a sterile product shot that looks nothing like your lived-in neighborhood. The best renderings integrate your specific site conditions — mature trees, existing architecture, street grade — rather than imposing a generic template.
Our approach to design delivery reflects these principles. We provide 2D plans, 3D renderings, and guided material selection across our design tiers — each tier delivering progressively detailed perspective views alongside scaled technical drawings. Clients regularly note that the finished project matches the 3D vision — which comes from treating the rendering as one tool in a set, not a standalone promise.
Read more about what drives realistic project timelines and explore our design-build approach to see how renderings fit into the broader process. Start your own design journey with us at our design page.