The design-build model puts one accountable team through every phase of your backyard remodel, from initial concept drawings to final construction. You get a single point of contact, fewer coordination gaps, and a smoother schedule than hiring separate designers and contractors.
What Design-Build Means Practically
The traditional path runs like this: you hire a landscape architect to draw plans, take those plans to three or four contractors for bids, pick the lowest bidder, and then mediate any disagreements that surface when the contractor encounters something the plans did not anticipate. Blame gets shared, costs get disputed, timelines get stretched.
Design-build collapses that chain. One firm holds the design contract, the construction contract, and the permitting work. Your designers also act as your project managers. When a wall needs to move because rebar was found underground, the people who planned the move are already on site making the call.
That speed and clarity come with a trade-off: you do not get competitive bidding against rival firms. Because you are giving up the bid step, how carefully you vet the firm up front matters more than in a competitive-bid project.
This single-contract structure eliminates the gap between design intent and build execution. In the split model, the designer and builder each have their own client relationship, their own insurance policies, and their own incentive structures. The designer wants a flawless drawing; the contractor wants a profitable build; you sit in the middle catching the miscommunication between them. Design-build removes you from that intermediary role entirely.
Phase 1 — Concept and Design
Every project begins with understanding what you actually want to do in your yard. We measure the existing conditions — property lines, structures, drainage patterns, trees that stay — and then have a focused conversation about how you live in the space now and how you want to use it.
From that brief we produce concept plans: a handful of layout options showing patio placement, circulation paths, planting zones, and key features. You review these, flag what resonates, and tell us what misses the mark. We revise until the plan feels right.
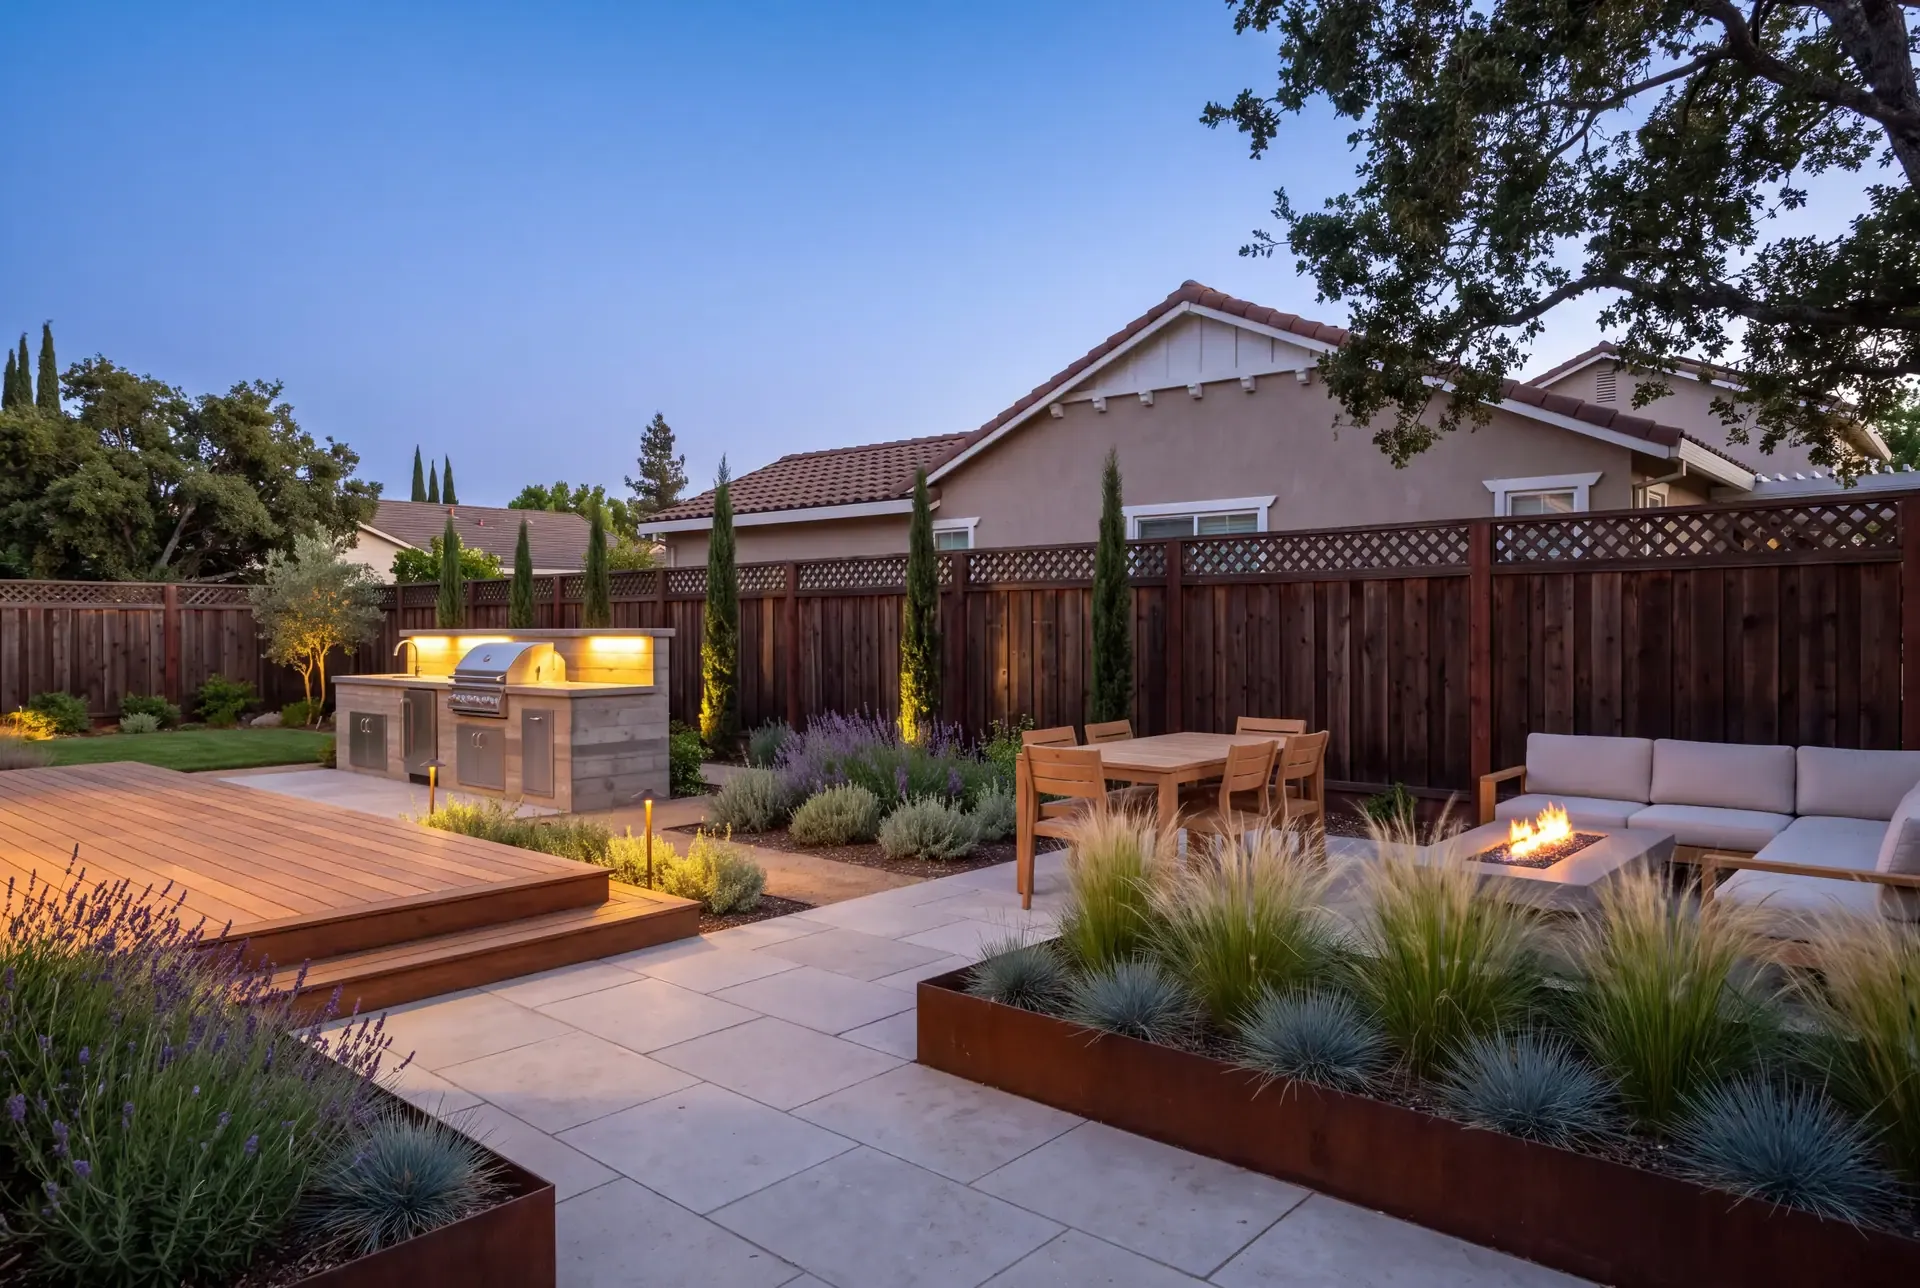
If the project includes a pool spa, outdoor kitchen, or ADU, the concept phase expands to address flow between spaces, utility access, and code-setback research. This is where we surface site constraints early rather than discovering them during construction.
Once the concept direction is locked, we develop the preferred layout into 3D renderings so you can see materials, sightlines, and spatial relationships before ground moves. Seeing the design in perspective catches scale problems that floor plans alone miss. We typically show two to three revision rounds within this phase so the layout settles before expensive drawings begin.
Phase 2 — Architectural Plans
Concept approval triggers the production of formal construction documents. These are the working drawings that engineers stamp, plan checkers review, and tradespeople build from. They include graded site plans, drainage details, structural sections, electrical layouts, irrigation schematics, and material specifications.
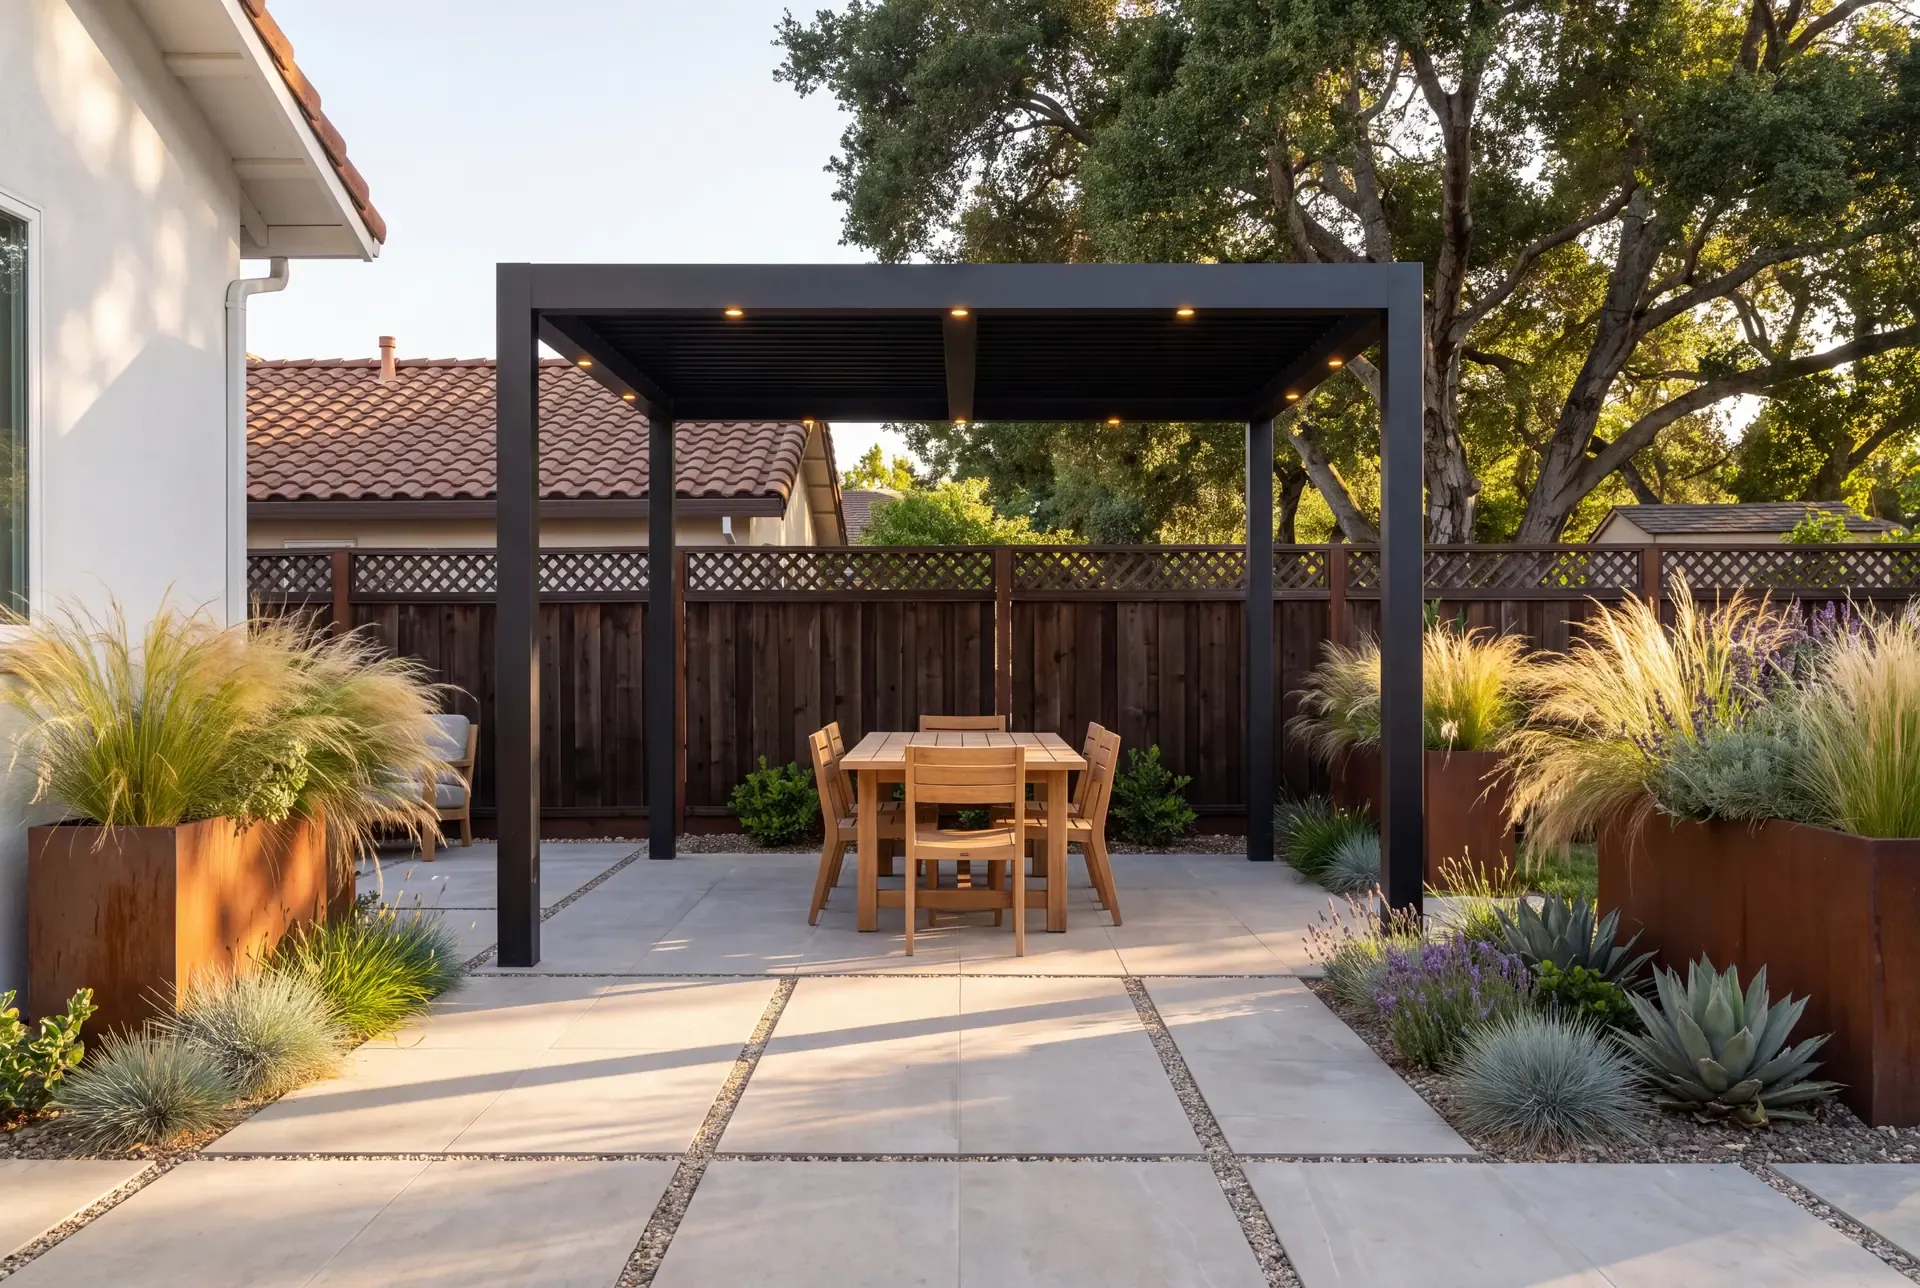
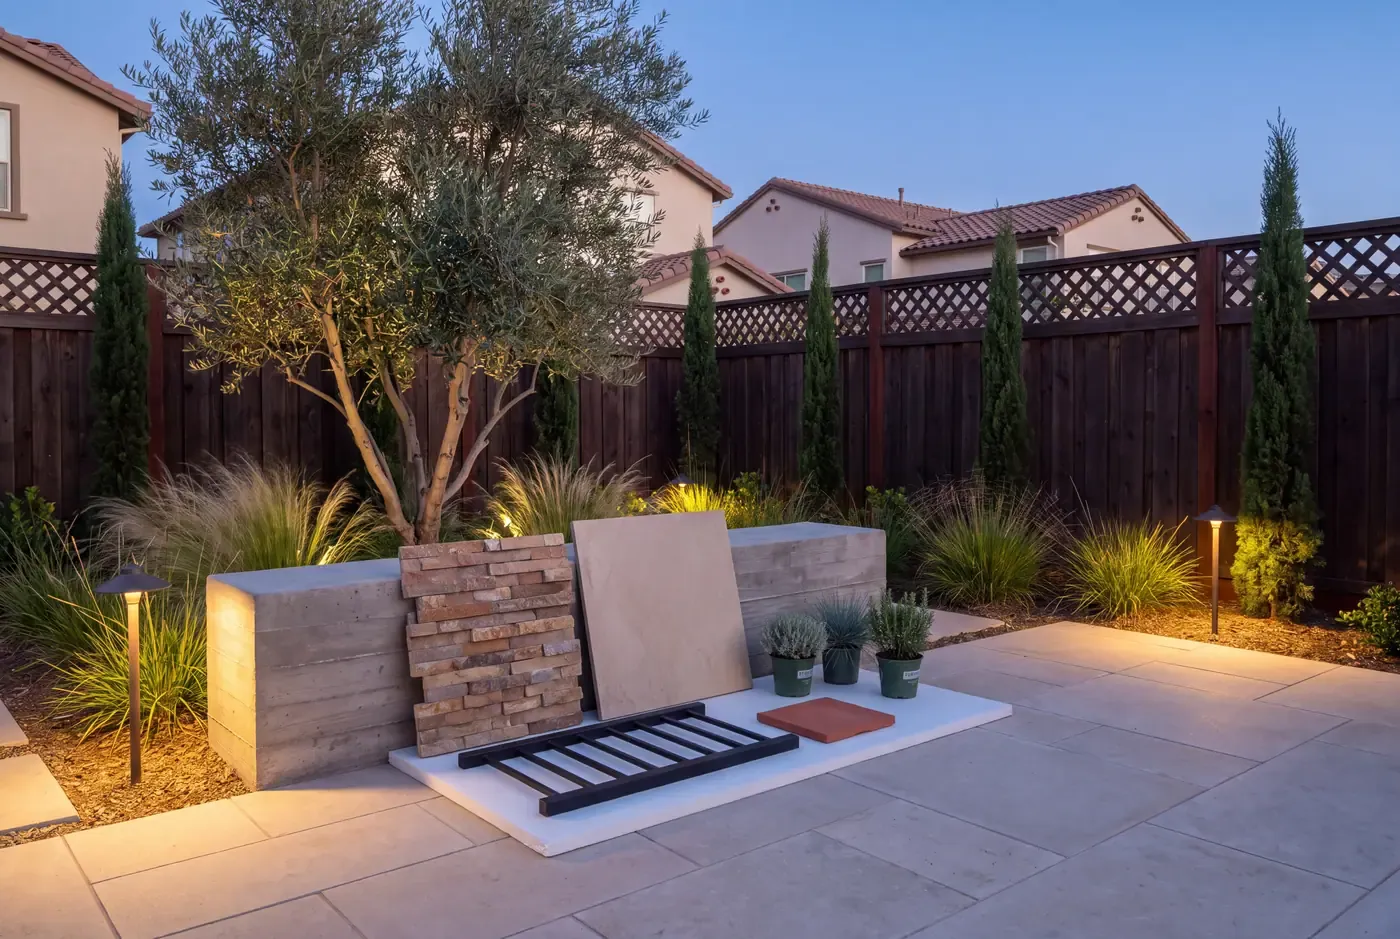
During this stage you select finishes — paver style and joint color, deck board species, stone veneer, fixture selections. We often walk material yards together so the choices feel grounded rather than abstract. The selections feed directly into the construction document set; we do not defer them to a later date that delays ordering and pushes the permit submittal further out.
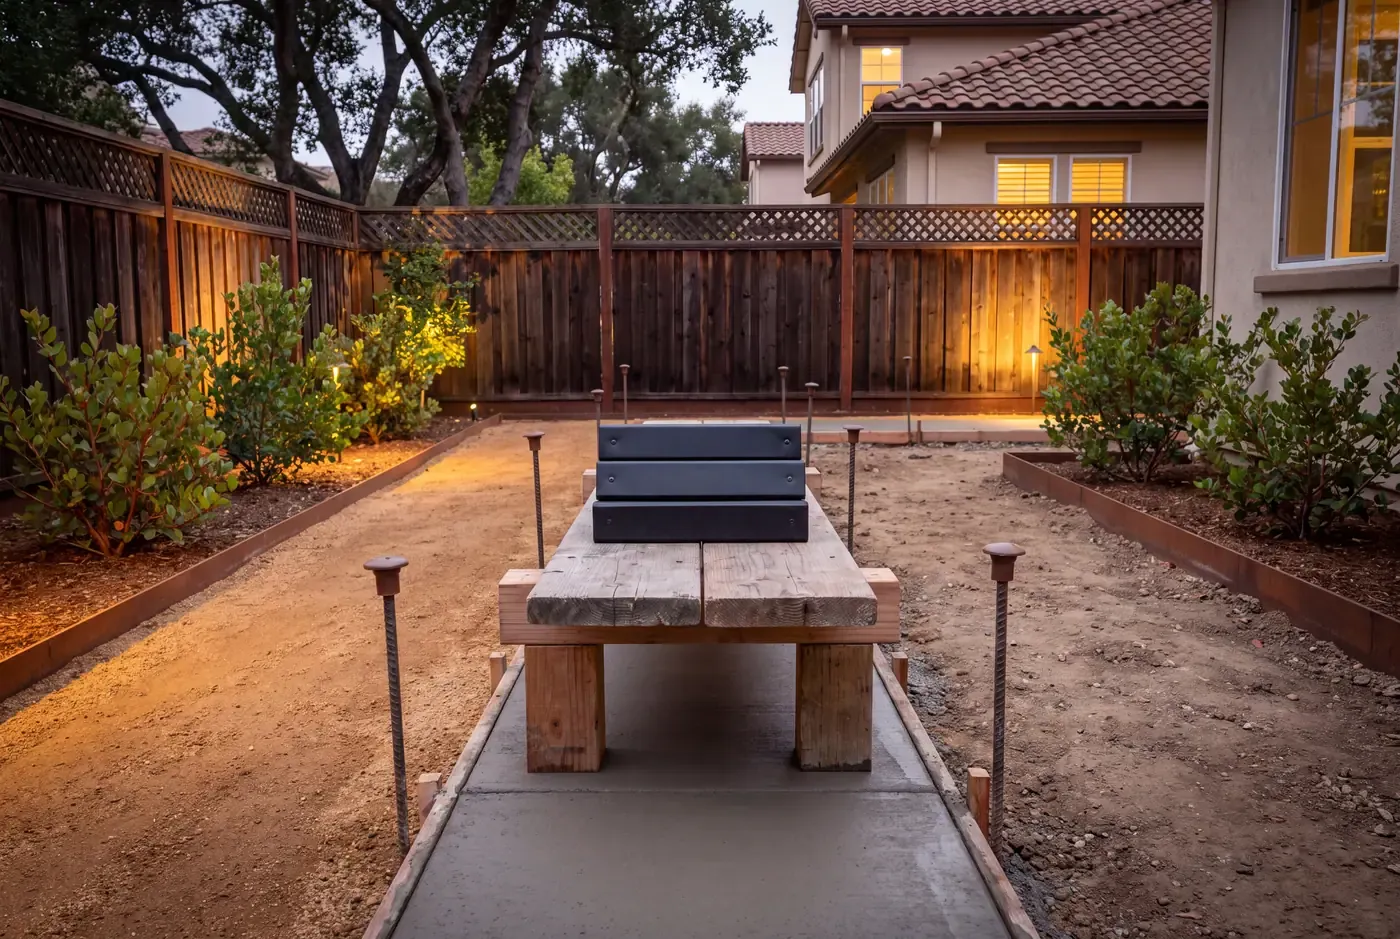
The construction documents may require structural engineering if the project involves retaining walls above permitted heights, attached patio covers, or grade beams. Engineering sign-off is part of the permit package but must be completed before submission. Waiting for engineering after the initial draft means at least one additional cycle of revisions.
Architectural plans also capture the energy-compliance calculations required under Title 24 standards set by the California Energy Commission. Outdoor lighting controls, solar-ready connections for future equipment, and insulation values for enclosed structures all factor into the documentation.
Phase 3 — Permits
This is where most homeowners find the process least familiar, which is exactly why design-build firms handle it in-house. We prepare the complete permit application package, submit it to the correct building department, respond to plan-check comments, and chase approvals while keeping you informed at each milestone.
Every city has its own portal, forms, review timelines, and plan-check feedback culture. An experienced local team knows San Jose’s submittal checklist differently than Los Gatos’, and Sunnyvale’s fire-access requirements differently than Palo Alto’s tree-ordinance overlay. We navigate those differences as routine work.
For unincorporated Santa Clara County residents, the process flows through the County Building Department. For everyone else, it flows through your city’s department. A few cities also run parallel HOA review tracks, and some projects trigger separate tree-permit or grading-permit applications outside standard building permits. We identify every required approval early so nothing surprises you mid-process.
Permit review cycles vary widely — some straightforward submissions clear plan check in days, others cycle through two or three rounds of corrections. Patience here pays off downstream. Rushing a sloppy submission saves nothing once the first round of reviewer comments arrives.
Phase 4 — Construction
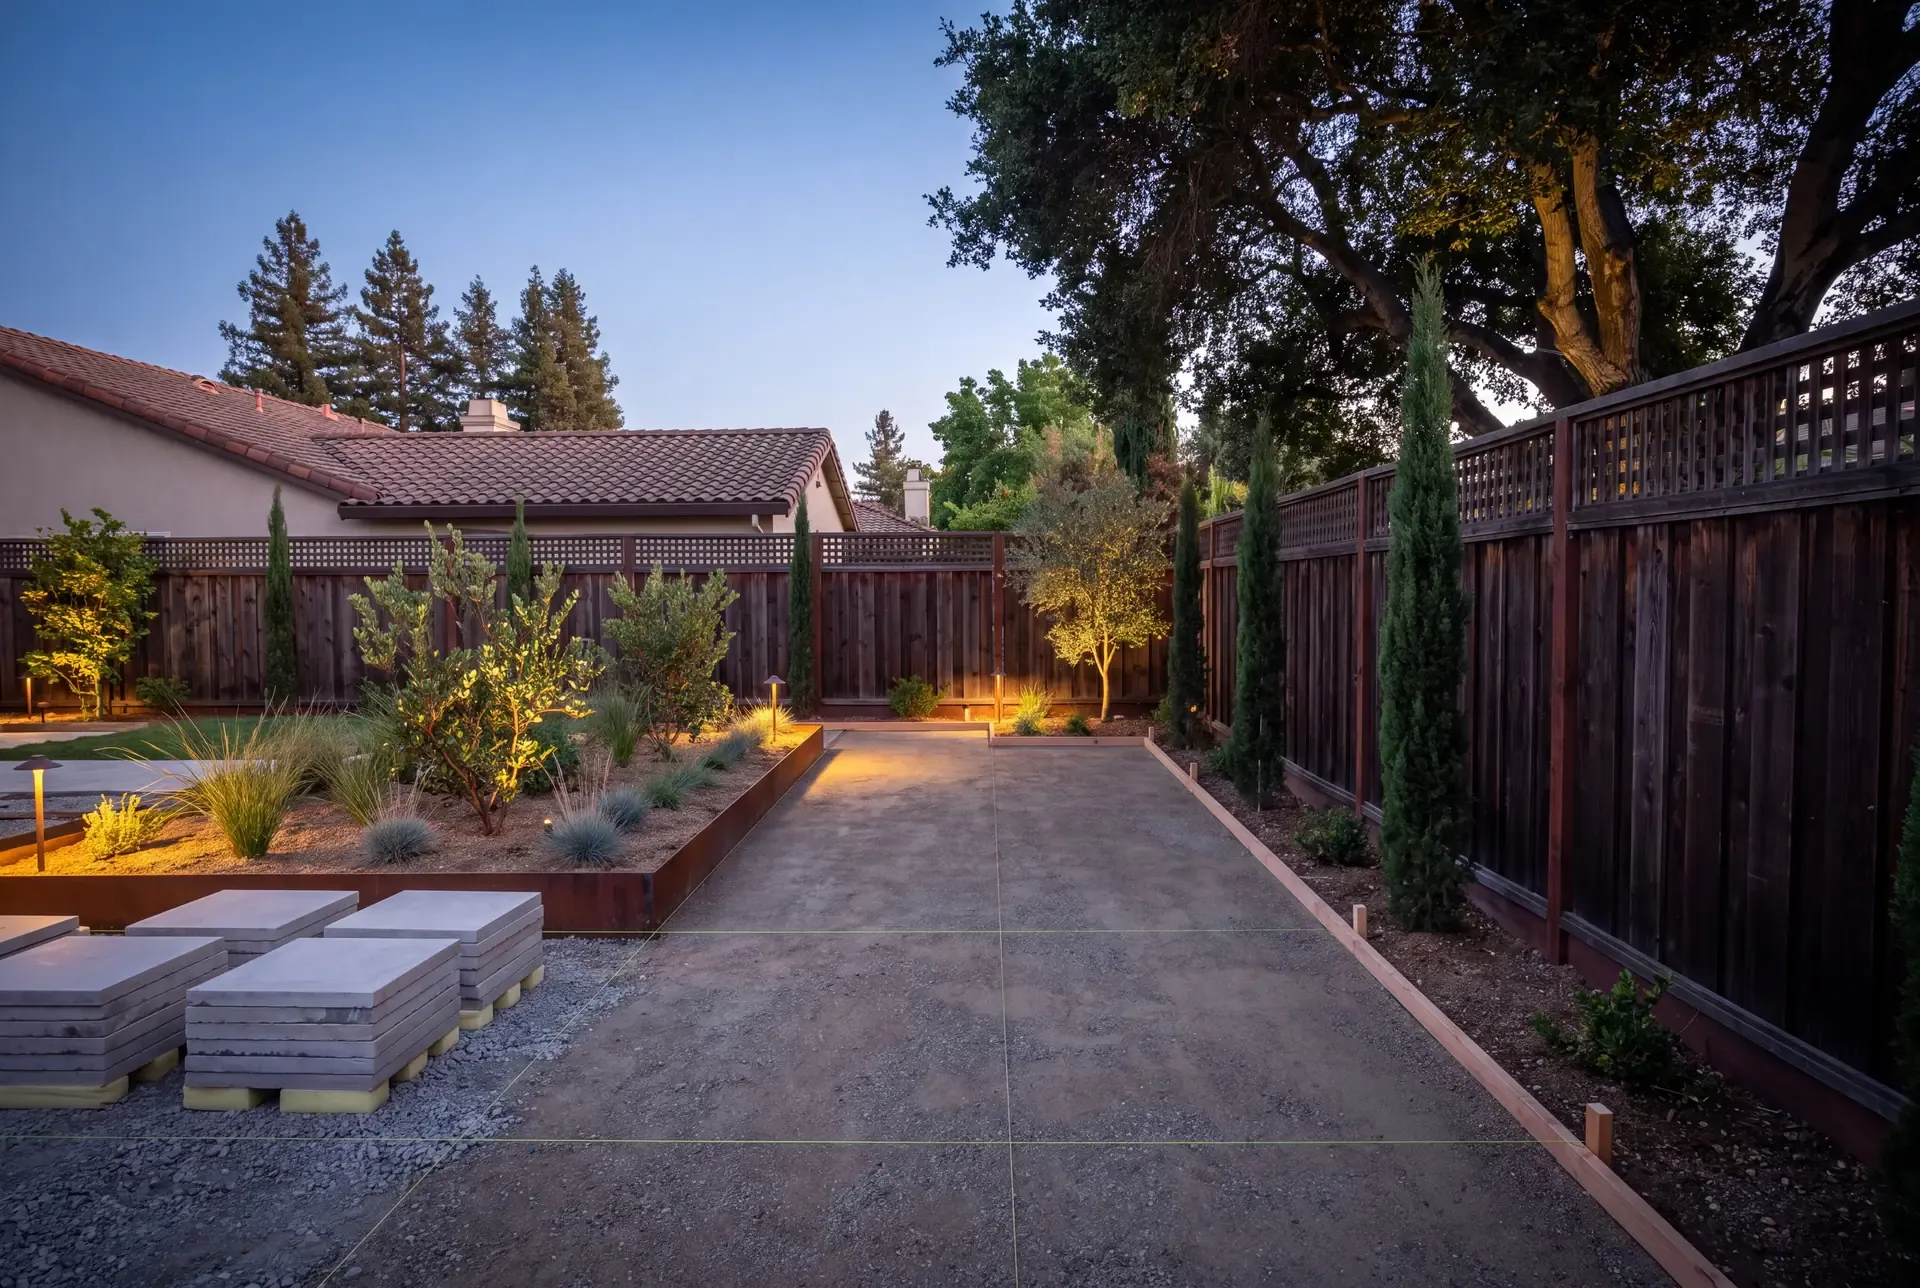
When the permit is issued, the site mobilizes. The crew protects existing trees, defines the work perimeter, and sequences activities so that excavation, utilities, hardscape, planting, and finish elements interlock without waiting on each other.
Typical sequencing runs roughly: site preparation and utilities → hardscape base and structure → electrical and gas rough-in → drainage and irrigation → hardscape surface installation → planting and turf → outdoor kitchen appliances and fixtures → punch list and cleanup. The exact order depends on scope, weather windows, and whether multiple trade crews work simultaneously.
Your designers remain involved during construction. When a detail on site does not read clearly from the drawings, they visit, adjust, and resolve rather than sending a generic request for information back and forth across town.
Inspection hold points punctuate the schedule. Footings need a sign-off before concrete pours. Underground utilities before backfill. Rough-in before surfaces go up. Each inspection clears the way for the next phase. If something fails, the fix is documented and tracked through punch list completion. Trade scheduling revolves around these gateways — nobody proceeds past a failed inspection, and nobody charges for idle time while waiting.
Phase 5 — Final Result
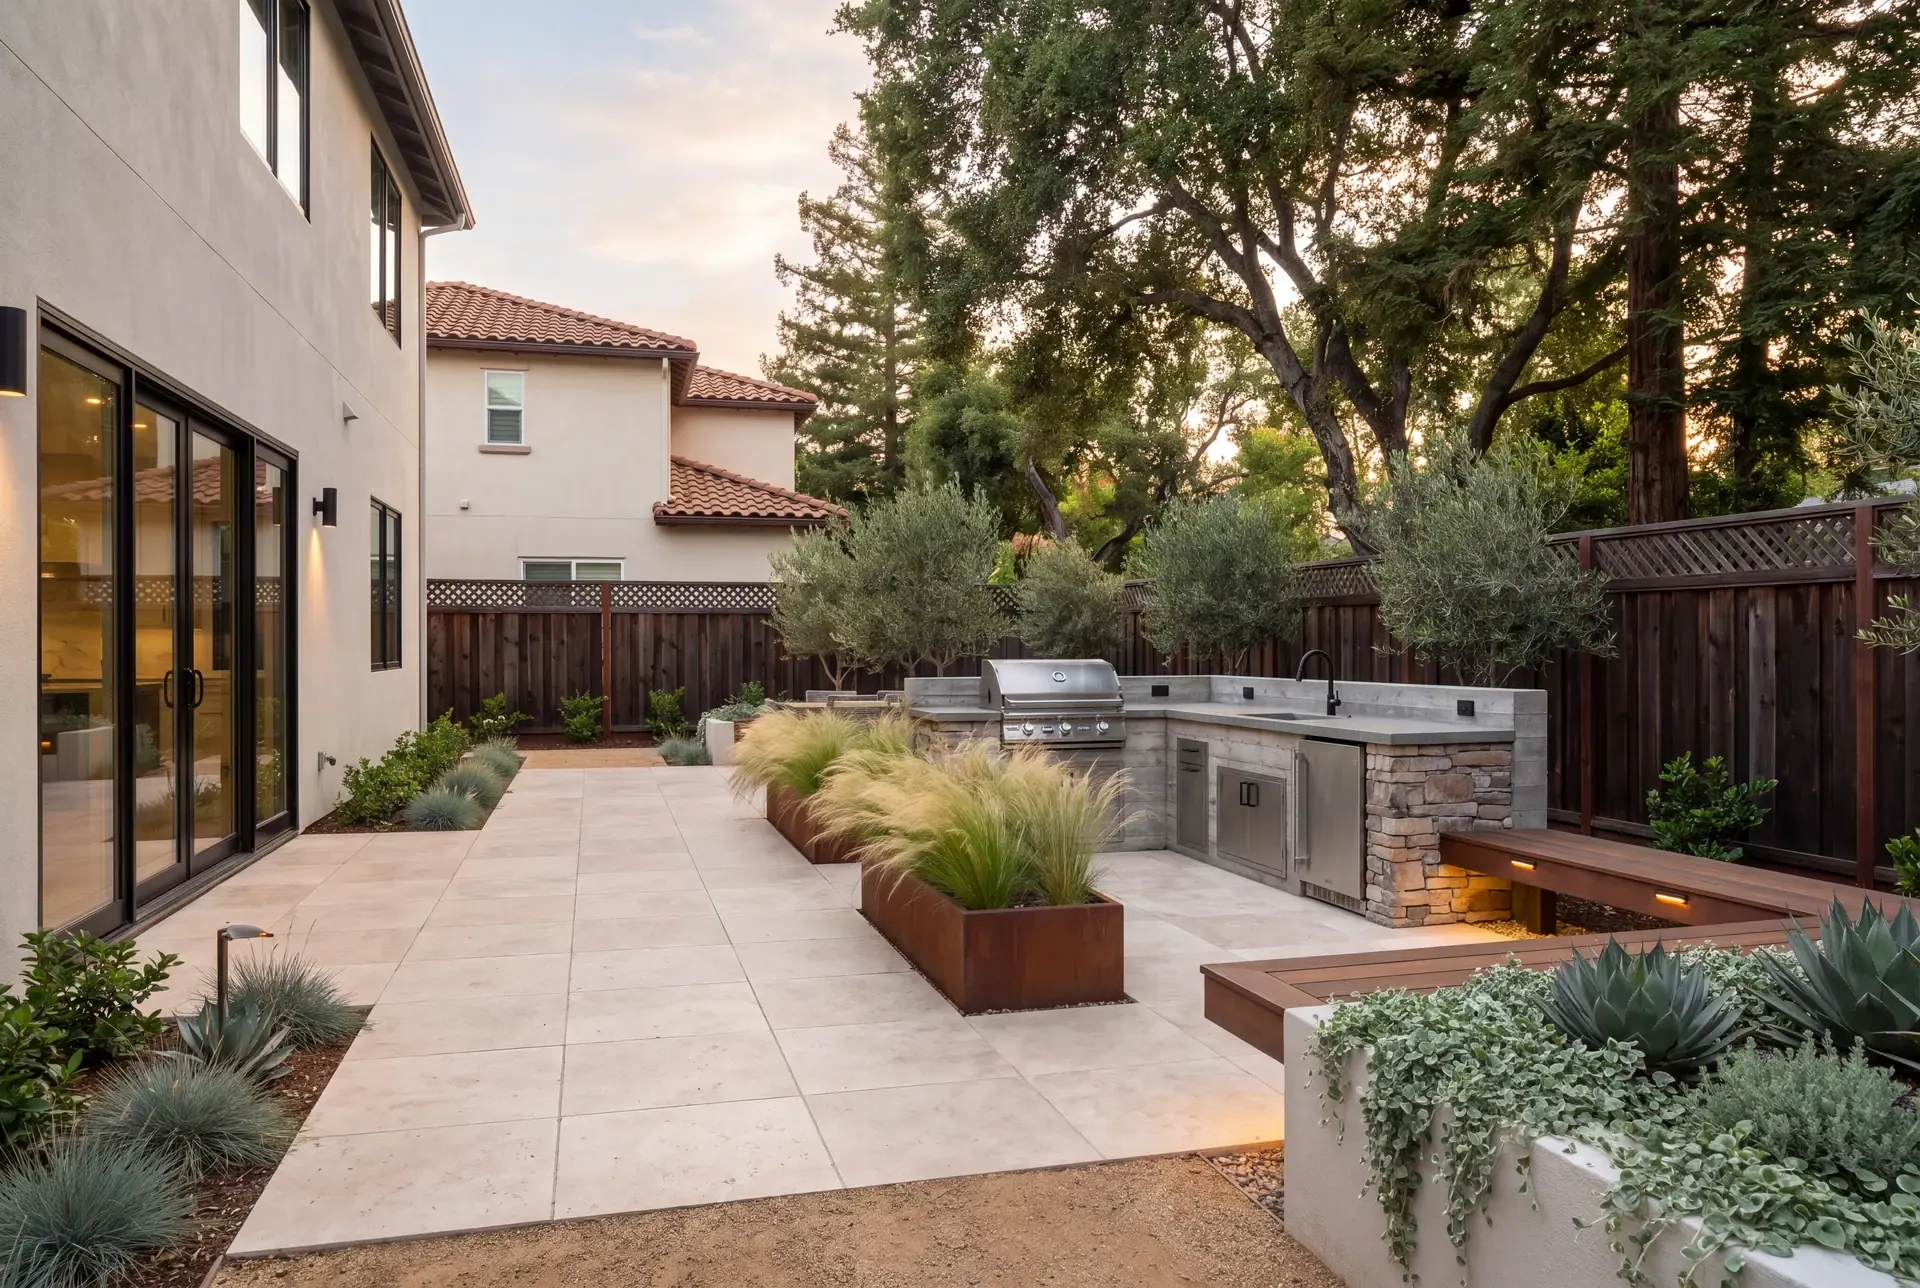
Walkthrough comes when the major trades have finished. We walk every element — paver levelness, drainage slope, valve accessibility, appliance connections, plant health post-installation — and compile a punch list of touches that need correction or adjustment.
After punch list items are resolved, we hand over documentation including as-built marks, manufacturer product sheets and care guides for installed fixtures, irrigation controller programming notes, and seasonal planting maintenance recommendations. Many teams offer a follow-up visit within the growing season to tune irrigation heads and assess new plant establishment. That is the last step in closing out the project properly.
Design-Build Versus Separate Firms
Aspect | Design-Build (One Team) | Traditional (Separate Designer + Contractors) |
|---|---|---|
Contract | Single agreement covering design and construction | Multiple agreements |
Accountability | Single point for design and construction | Shared; disputes become your problem |
Coordination | Internal meetings, shared documents | You facilitate communication between parties |
Revision during build | Designer on site resolves issues immediately | RFIs sent back to distant designer |
Competitive bids | Not applicable | Multiple contractor bids |
Schedule compression | Overlapping phases possible | Sequential phases lock the timeline |
Change-order management | Same team evaluates scope and cost impact | Two firms negotiate over responsibility |
The traditional route gives you price competition from several contractors. The design-build route gives you schedule efficiency and eliminates the gap between design intent and build execution. Neither approach is universally better — the right choice depends on how much you value price comparison versus project management simplicity.
Our five-phase process — concept and design, architectural plans, permits, construction, final result — is built around that philosophy. One team carries the project forward without handoffs between firms.
When Design-Build Adds the Most Value
The model shines on complex projects — a pool house with a detached kitchen requiring separate electrical meters, a sloped lot needing terracing plus a retained structure, an ADU adjacent to a protected tree ordinance zone. Every decision point carries both a design implication and a constructability concern, and having one group weigh both simultaneously prevents costly redesigns mid-build.
Even simpler projects benefit from the reduced admin burden. With a single point of contact handling everything from the concept meeting to the final walkthrough, you spend less time managing emails and more time enjoying the space once it is built.
If a backyard remodel is on your mind, the first productive step is understanding what your site can accommodate and what process fits your comfort level. Reach out with questions or ideas — contact us and we will set up a time to look at your space together.