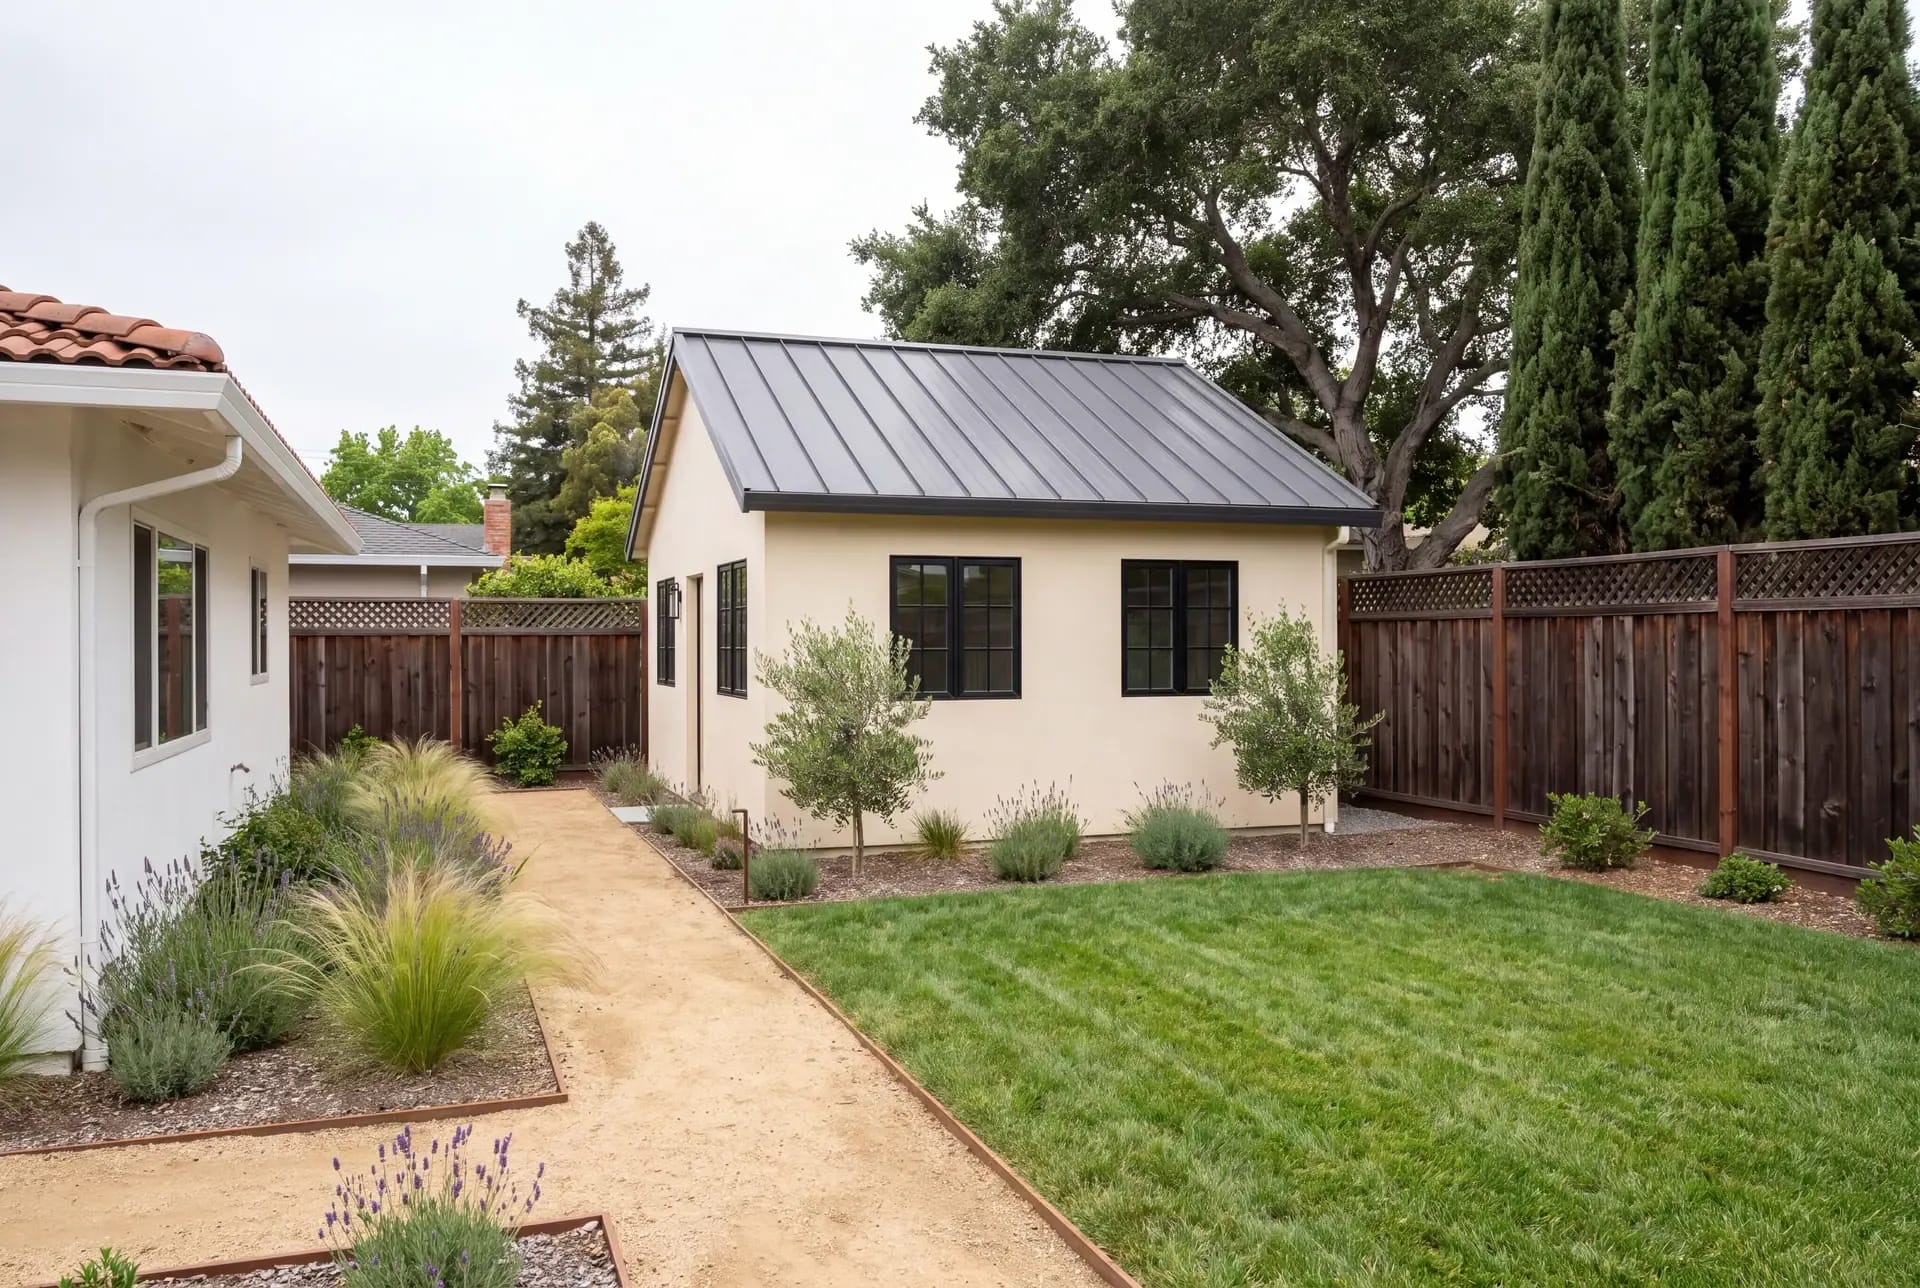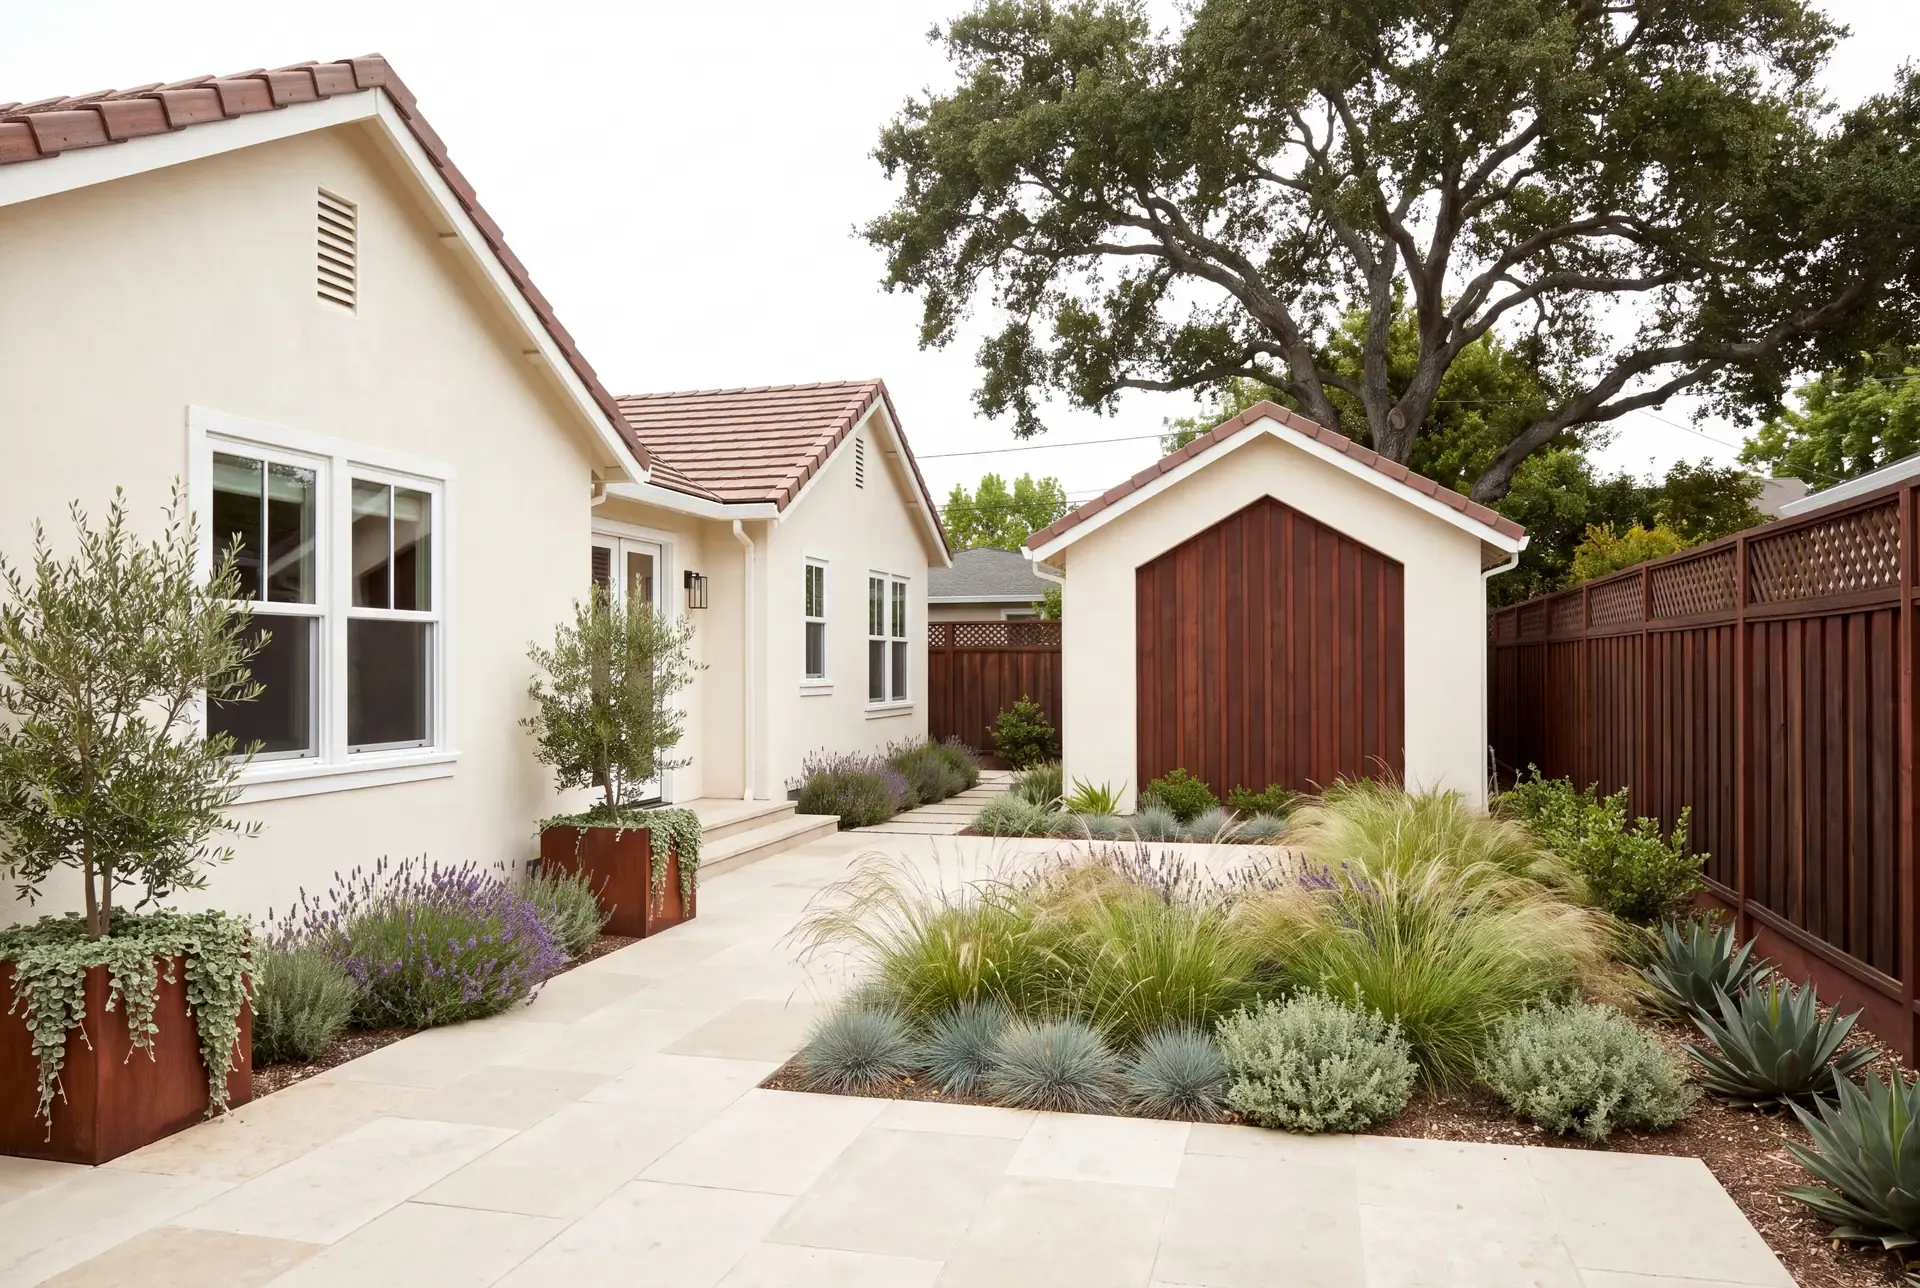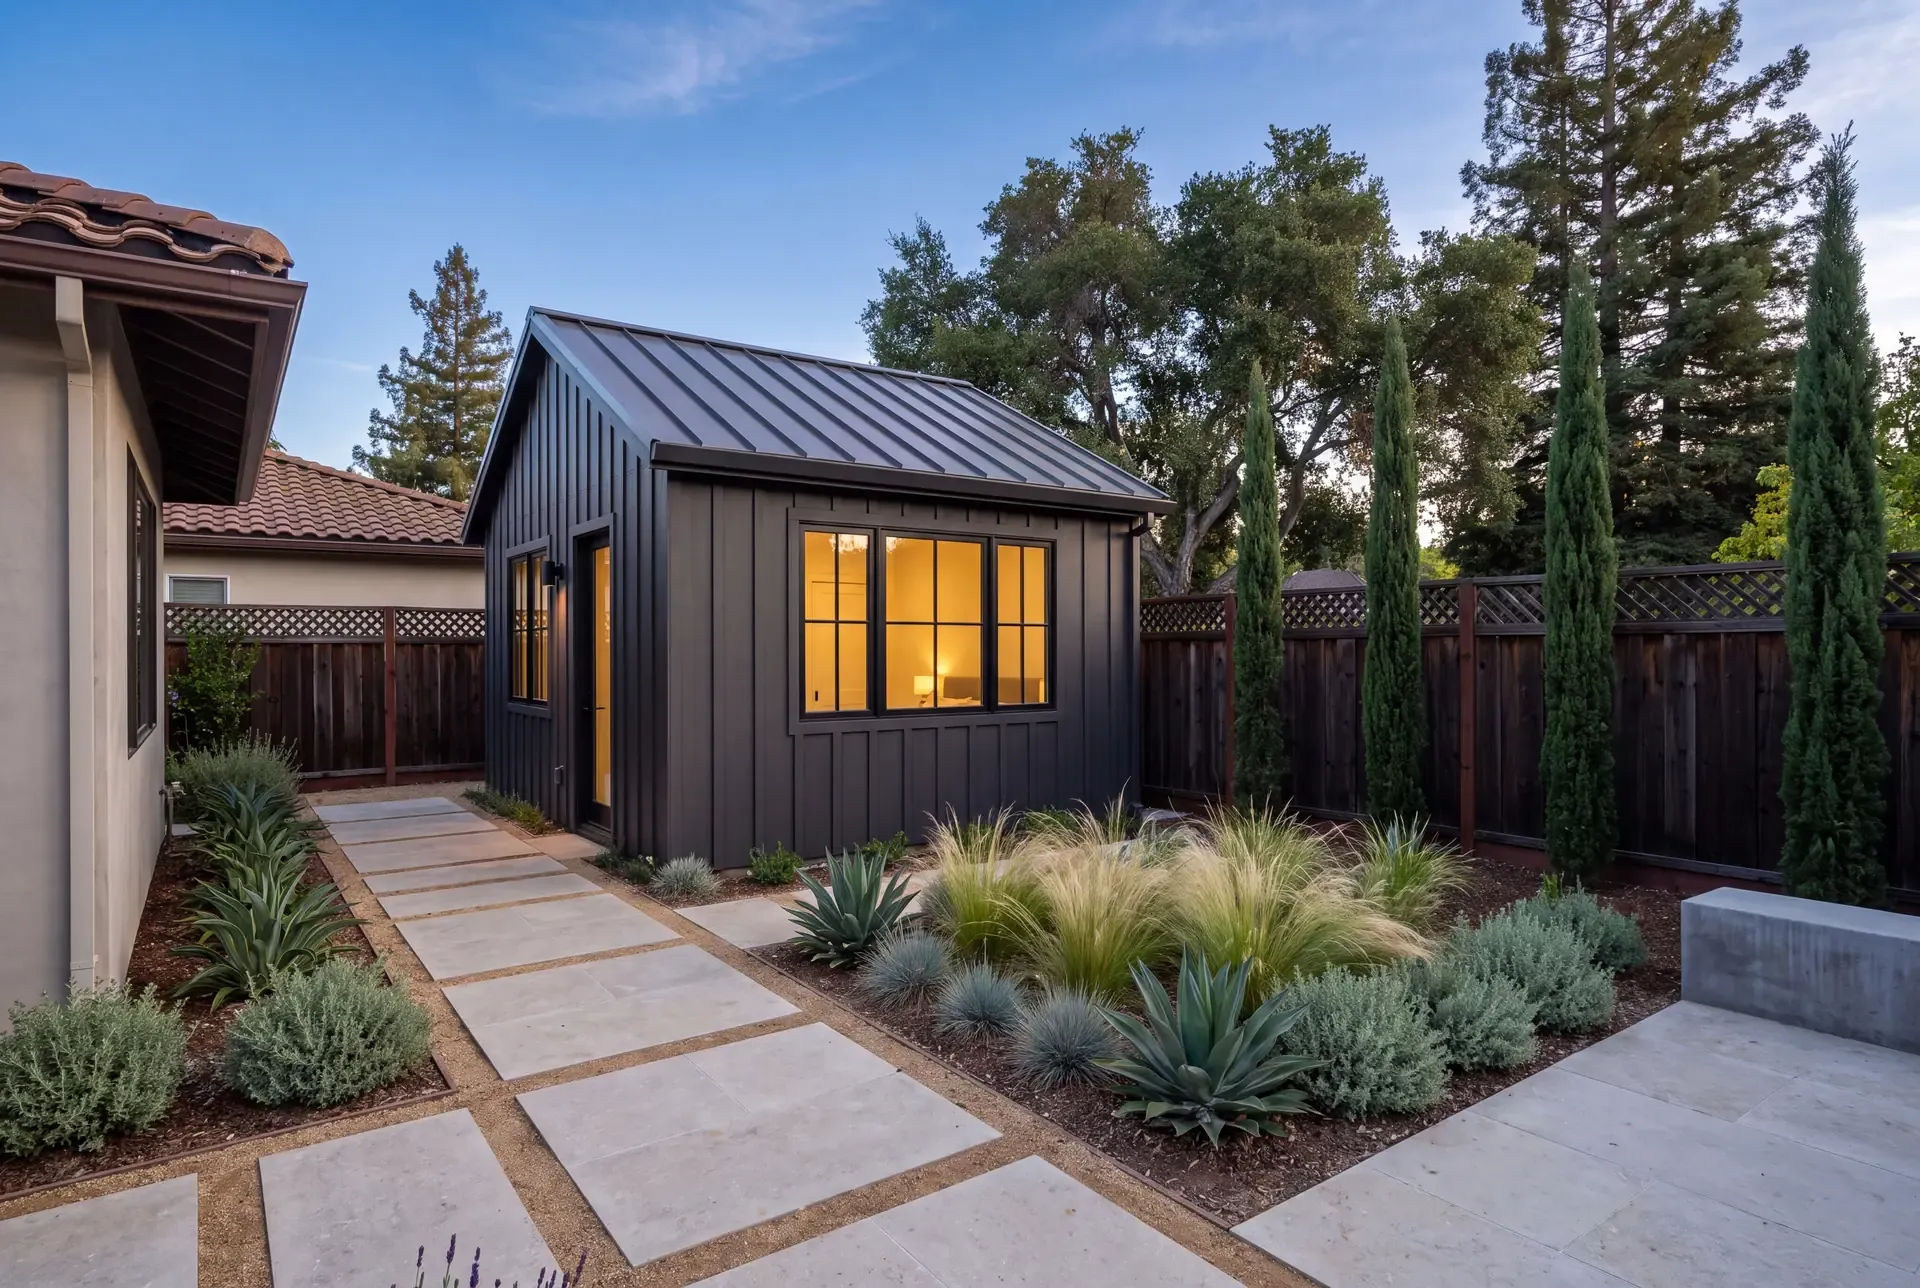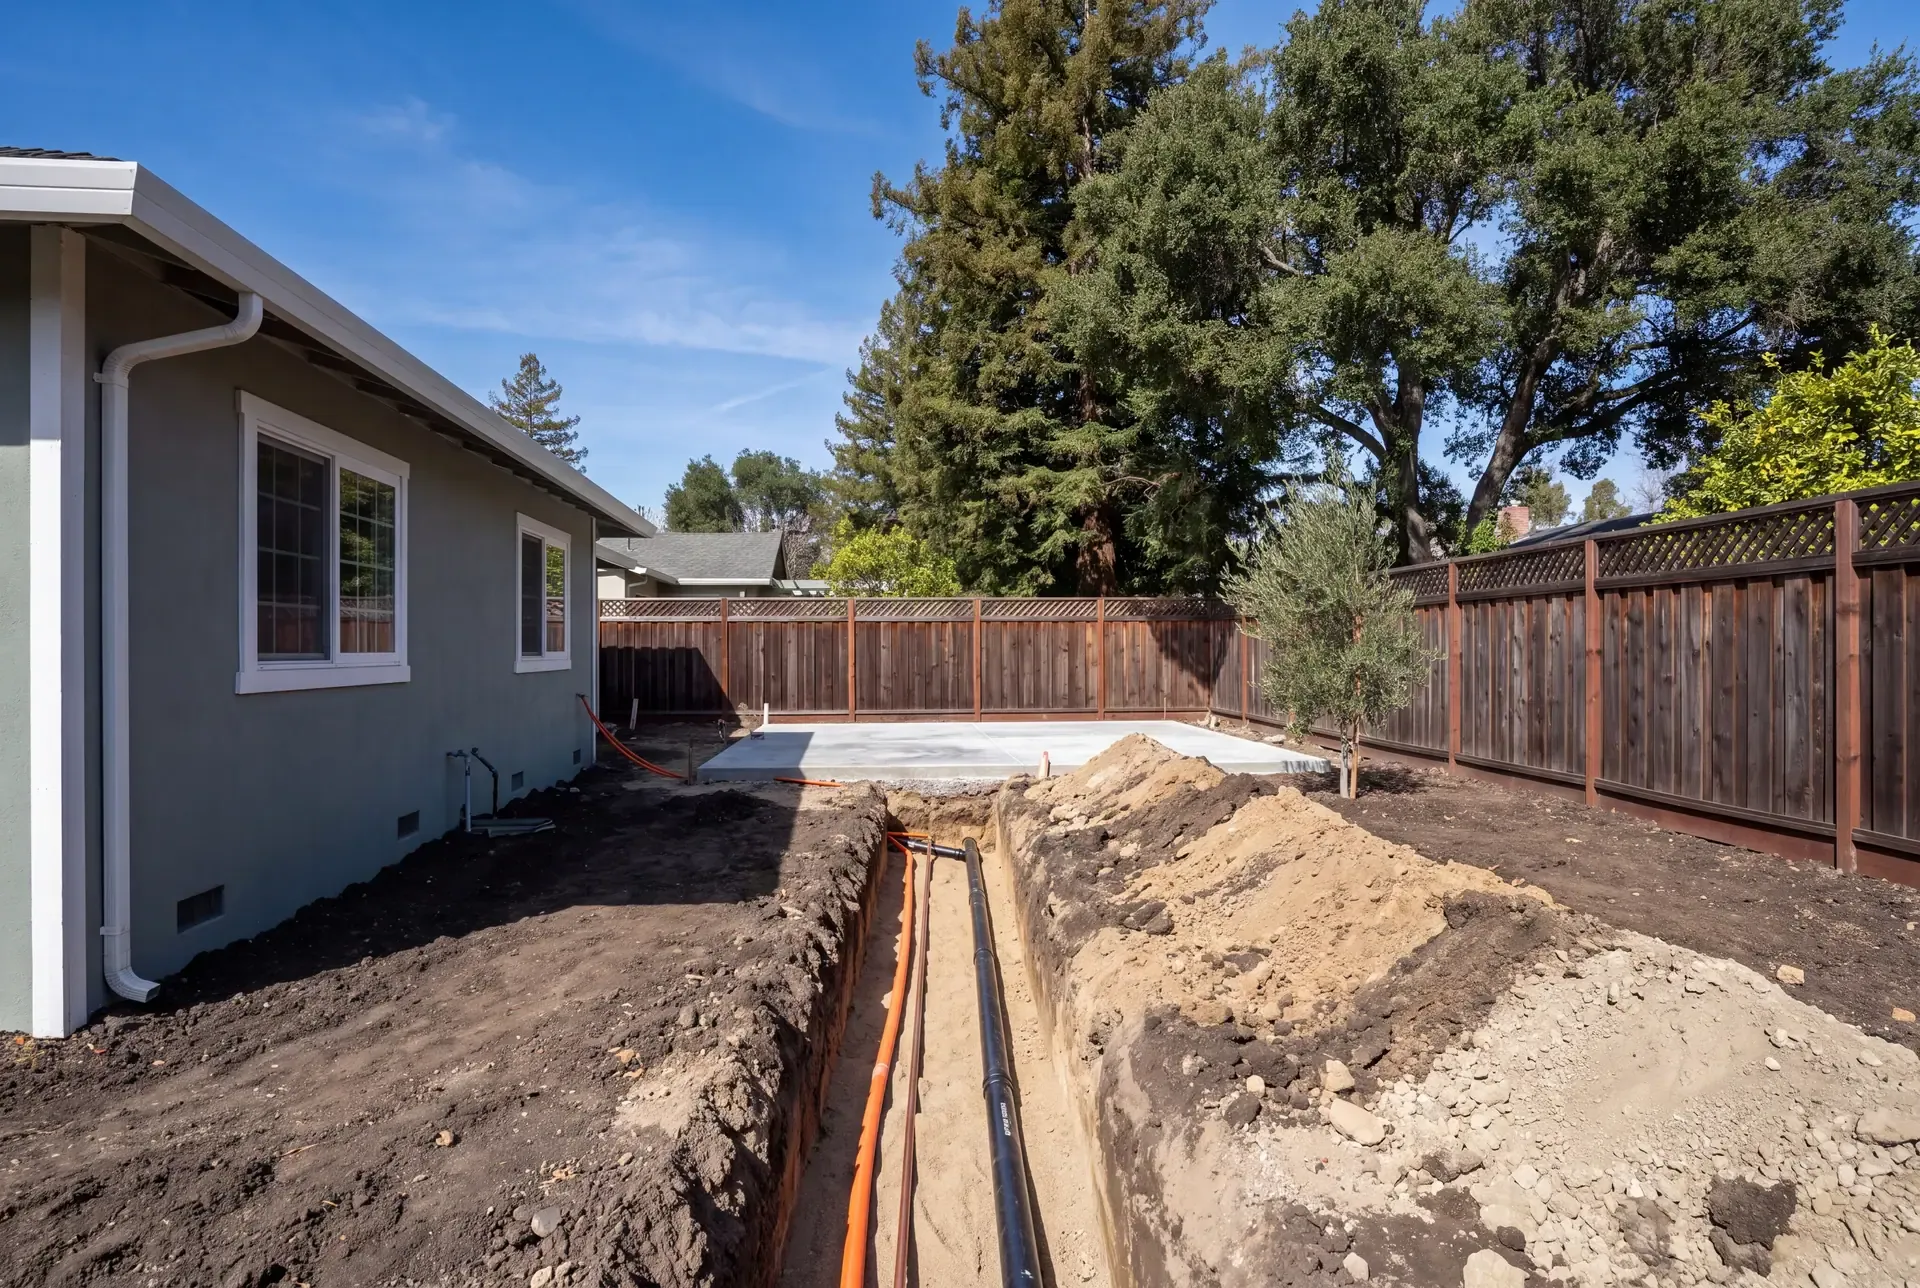
The part of an ADU project that homeowners see — the walls, roof, windows, finishes — sits on top of the part that matters most. Foundation excavation, utility trenching, drainage grading, and service connections happen in the first few weeks and determine whether the rest of the build runs on schedule or stalls. Getting this phase right requires understanding what is under your yard before a shovel goes in.
Before You Dig: Utility Locating and Site Assessment
Every ADU site-work plan starts with knowing where the existing utilities run — not guessing. In the Bay Area, this means calling USA North 811 at least two working days before any excavation, which triggers a free locate from each utility provider. They mark the horizontal path of gas, electric, cable, and telecom lines with color-coded paint or flags.
But the free public locate does not mark private lines — things like the sewer lateral from your house to the street, irrigation mainlines, landscape lighting wiring, or a gas line to a pool heater. These are yours to identify. A plumber can camera-scope your sewer lateral to map its exact path and depth, which is critical information when planning where the ADU sewer connection will go.
The best time to do all of this is during design, not after permits are issued. R&R includes this site assessment in our ADU design phase, so there are no surprises when the excavator arrives. Our designers — who stay on as project managers — know what is under the yard before they draw the foundation plan.
Foundations: What the Bay Area's Soil Demands
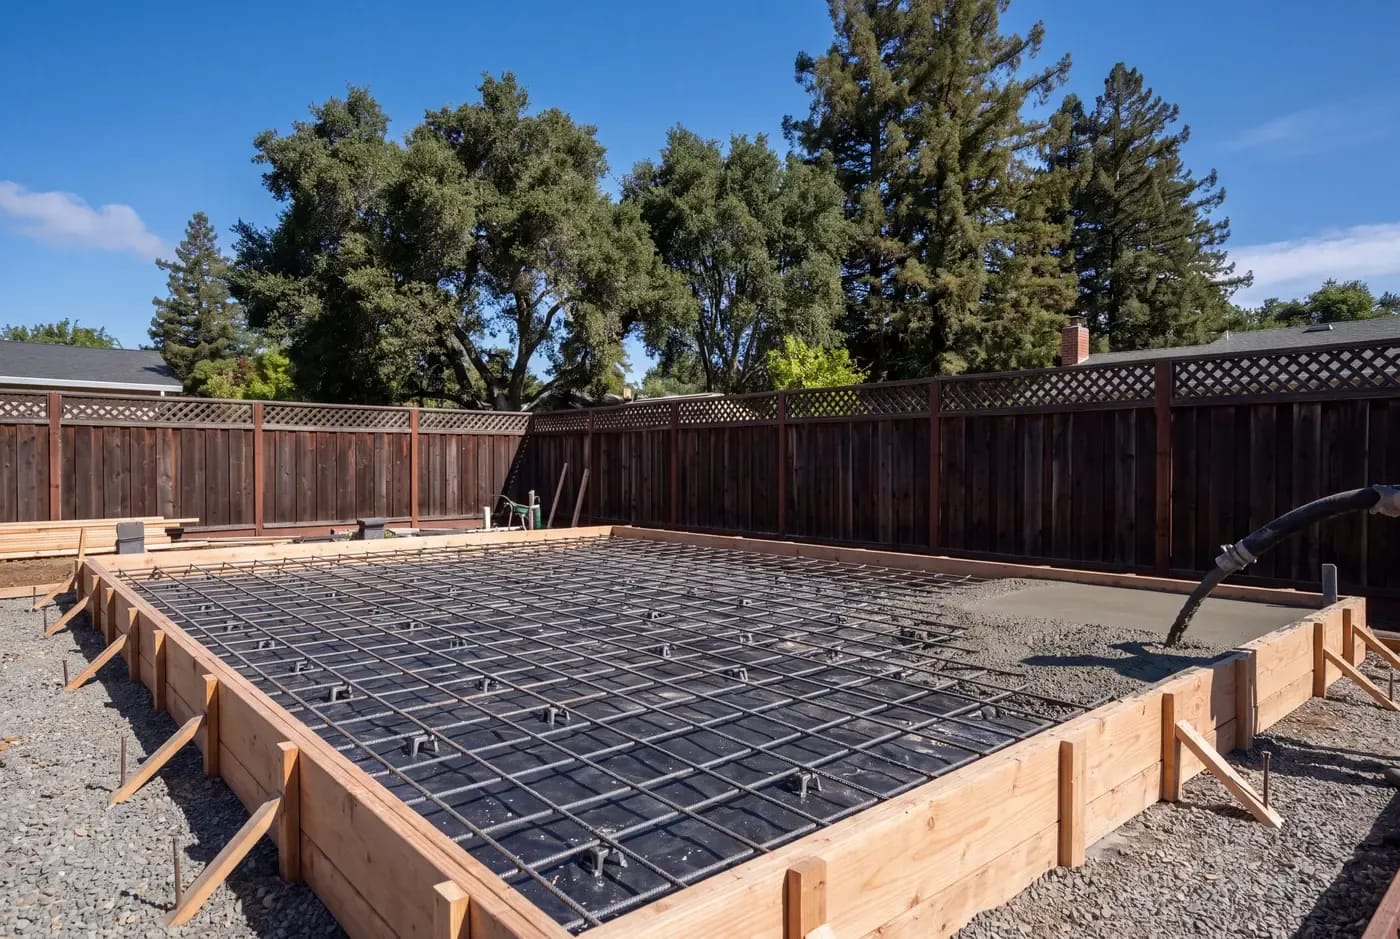
Most detached ADUs in the Bay Area use a reinforced concrete slab-on-grade foundation. It is cost-effective, the finished slab becomes the floor, and it works well on flat or gently sloped lots. But our soil makes it more complicated than it sounds.
Much of the Santa Clara Valley sits on expansive clay — soil that swells when wet and shrinks when dry. A standard slab placed directly on expansive clay will crack as the soil moves seasonally. The standard mitigation is a soils report from a geotechnical engineer, who will prescribe one of three approaches: over-excavation (removing the top few feet of clay and replacing it with engineered fill), a post-tensioned slab (reinforced with tensioned steel cables that hold the slab together as the soil moves), or drilled piers that anchor the foundation below the expansive zone.
The soils report also determines whether the site needs a drainage swale or sub-drain to keep water from accumulating under the slab — a common issue on flat Peninsula lots with clay soil that drains slowly. This is the kind of pre-construction work that is invisible in the finished product but prevents future problems.
On hillside lots — common in Los Gatos, the Santa Cruz Mountains foothills, and parts of the East Bay — a slab may not be feasible at all. Steep slopes often require a pier-and-beam foundation or a retaining wall to create a level building pad. The excavation volume and the need for shoring increase the site-work scope significantly. Read our piece on Los Gatos backyard remodeling for more on hillside construction considerations.
Utility Trenching: The Lifelines
A detached ADU needs four utility connections, each with its own depth and separation requirements:
Water supply. A new branch line tapped from the main house's water service or directly from the street meter. In the Bay Area's frost-free climate, the minimum burial depth is 12 to 18 inches — less than in colder regions, but still below the reach of landscape tools and shallow enough to avoid the sewer line when they share a trench. The line size depends on fixture count; a standard one-bedroom ADU typically needs a 3/4-inch or 1-inch line.
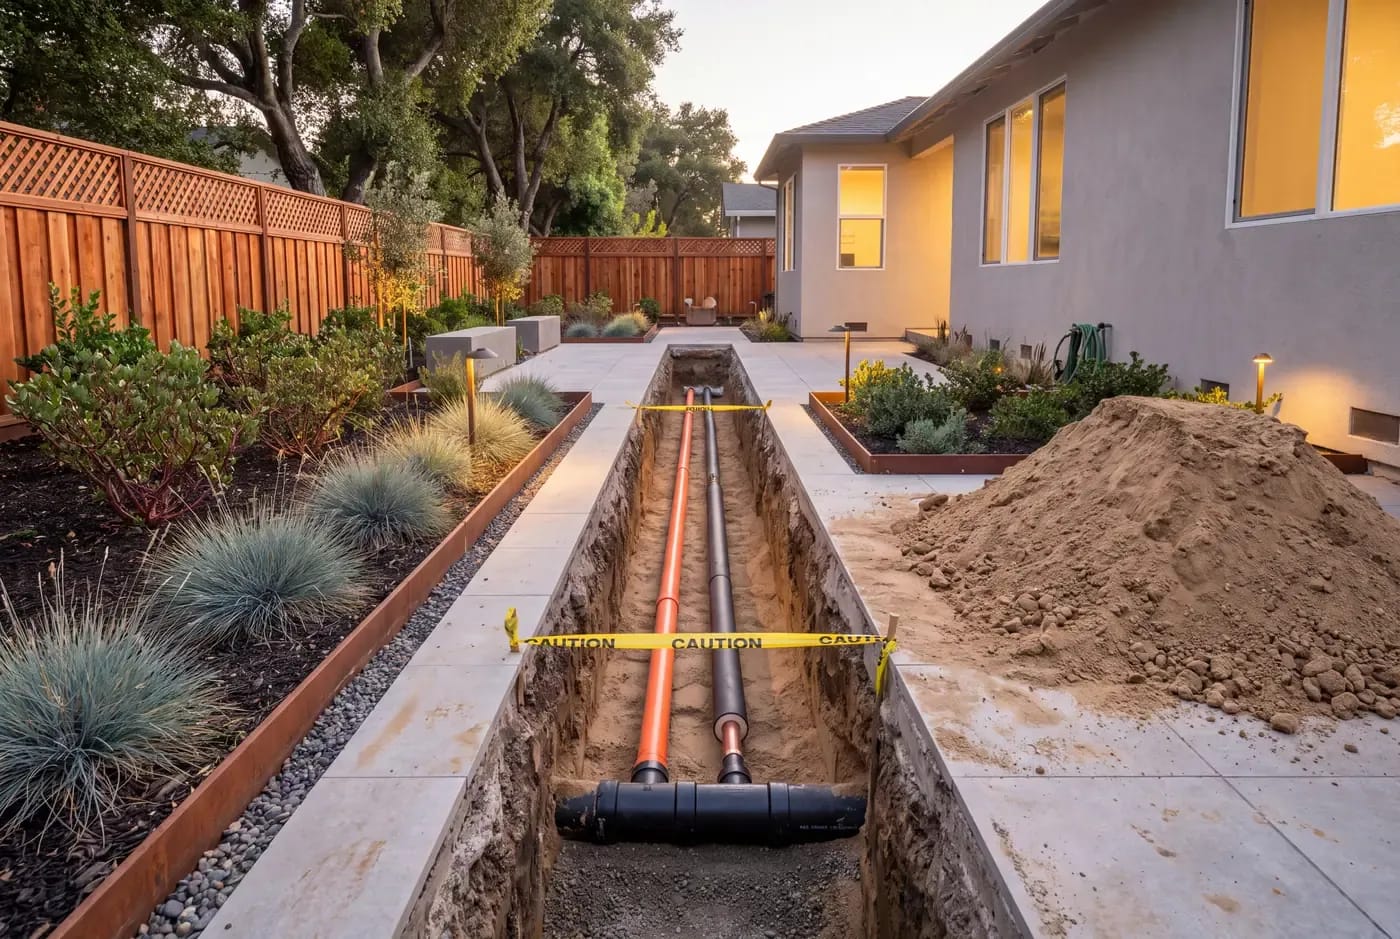
Sewer. The most site-constrained of the four connections. A gravity sewer lateral requires a minimum slope of 1/4 inch per foot of run (2 percent). If the ADU sits downhill from the main sewer line, or if the distance is long enough that maintaining slope would put the connection too deep, a sewage ejector pump becomes necessary. A pump adds mechanical complexity and requires an electrical connection and an alarm system — all manageable, but not trivial. The sewer lateral also requires a cleanout at the building and at any horizontal change of direction.
Electrical. A sub-panel in the ADU is fed from the main house panel or directly from the utility service drop. If the main panel has spare capacity, a new breaker and conduit run to the ADU is straightforward. If the panel is full or undersized — common in older Peninsula homes with 100-amp service — a panel upgrade or a separate service may be needed. The electrical trench is typically 18 inches deep, and the conduit must be schedule 40 or 80 PVC.
Data and low-voltage. A data cable (Cat 6 or fiber) from the main house router to the ADU is not required by code but is practically essential for a rental unit. If the unit has its own address, the internet provider may run a separate service drop. Low-voltage landscape lighting and irrigation control wires also run through the same trench, separated from line-voltage conduit.
All four utilities can share one trench if they maintain proper vertical and horizontal separation — electrical at 18 inches, water at 12 to 18 inches, sewer deeper and separated — with the understanding that the sewer lateral is the dominant constraint because of its slope requirement. The trench depth and path are set by where the sewer needs to go; everything else follows.
We walk through cost drivers like trench length and sewer pump requirements in our ADU type comparison article.
Drainage and Stormwater
A new ADU roof and any associated hardscape add impervious surface to your lot. Most Bay Area cities require a drainage plan showing that stormwater from the new roof will be managed on-site rather than directed onto neighboring properties or into the street.
The typical approach is to connect ADU roof downspouts to the existing site drainage system — which may need to be upgraded or extended. On lots without an existing drainage system, the solution is usually a dry well or infiltration trench: a gravel-filled excavation that receives roof runoff and allows it to percolate into the soil slowly. The size depends on roof area and soil percolation rate, which a soils test determines.
Grading around the ADU must slope away from the foundation at a minimum of 5 percent for the first 10 feet — a building code requirement that prevents water from pooling against the slab or crawl space. This grading also needs to tie into the overall yard drainage pattern without creating new low spots or directing water toward the neighbor's property. Our landscape service handles both the hardscape grading and the planting plan as a single package.
Trenchless Options and When They Make Sense
Not every utility connection needs an open trench. Directional drilling (also called horizontal directional drilling, or HDD) pulls conduit or pipe underground from a launch pit to a receiving pit without disturbing the surface between them. This is most commonly used for electrical and data conduits, and occasionally for small-diameter water lines.
Trenchless methods are worth considering when the path between the house and the ADU crosses a patio, a mature tree's root zone, or a driveway — anything you would prefer not to cut and restore. The tradeoff is that directional drilling requires specialized equipment and an experienced operator, and it does not work for sewer laterals (which need precise gravity slope). For a sewer line, open-trench excavation remains the standard approach.
R&R evaluates whether trenchless methods apply during the site assessment. If the path crosses a valuable hardscape feature, we will present both options — trench and restore, or directional drill — and explain the tradeoffs for your specific site.
Site Access: Getting Equipment In
A backyard ADU on a typical Peninsula lot requires getting an excavator, a concrete pump truck, and material deliveries into the rear yard — which, on a 50-foot-wide lot with a 6-foot side yard, is a geometry problem. The most common solutions: removing a fence panel at the rear property line if an alley or easement exists, using a compact (or "mini") excavator that can pass through a 4-foot gate, or — on a tight site — hand-digging the foundation and trench, which adds time but preserves access and landscape.
Site access constraints are one of the more significant variables in ADU construction, not because the work is technically complicated but because bad access forces inefficient work sequences. R&R evaluates access as part of every site assessment before design begins.
If you are ready to explore an ADU on your property, contact us. Our site assessment identifies what is under your yard, what utilities you will need, and how the site work phase will sequence — so your project starts with the ground truth, not assumptions.