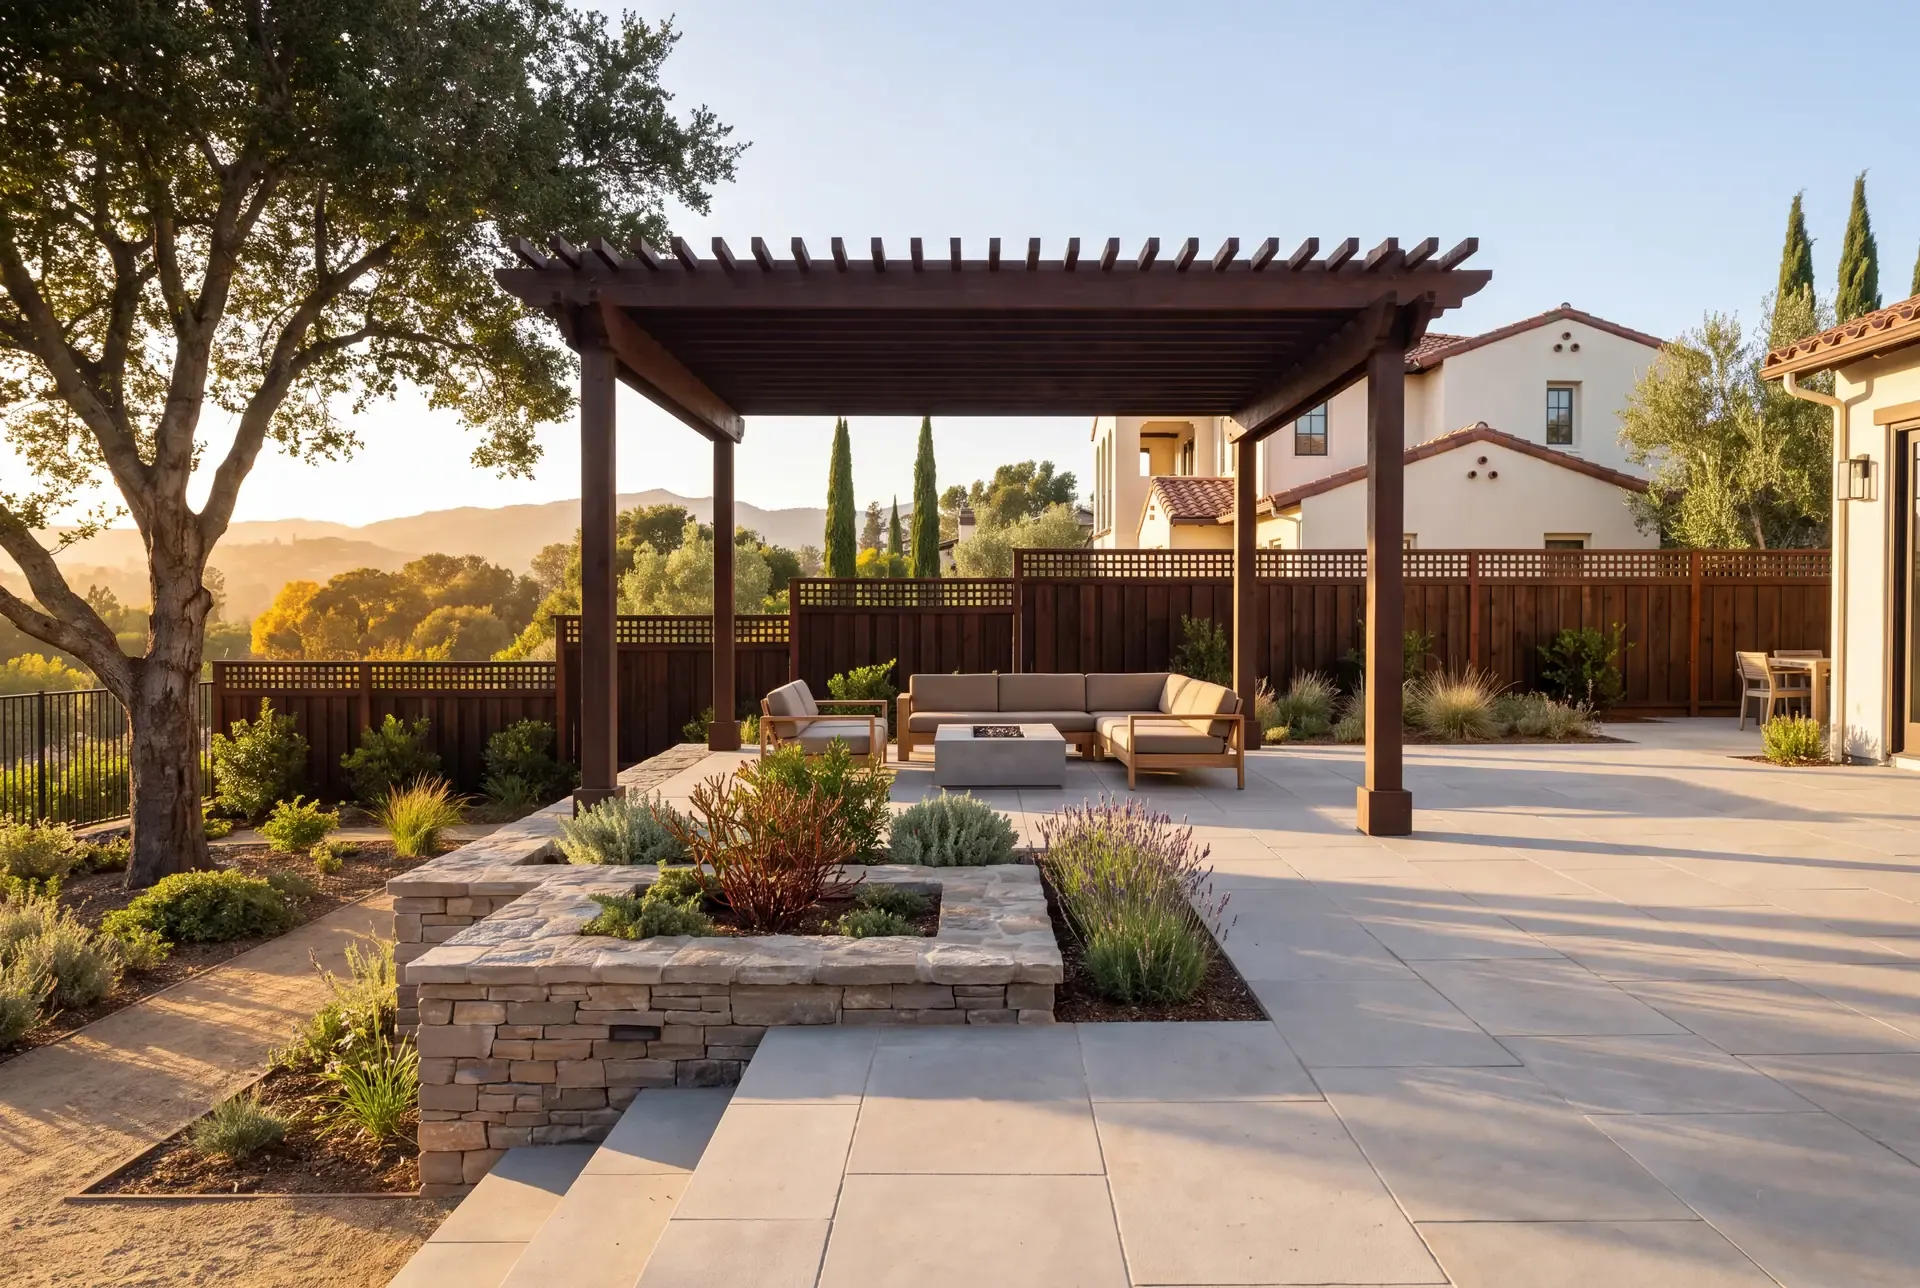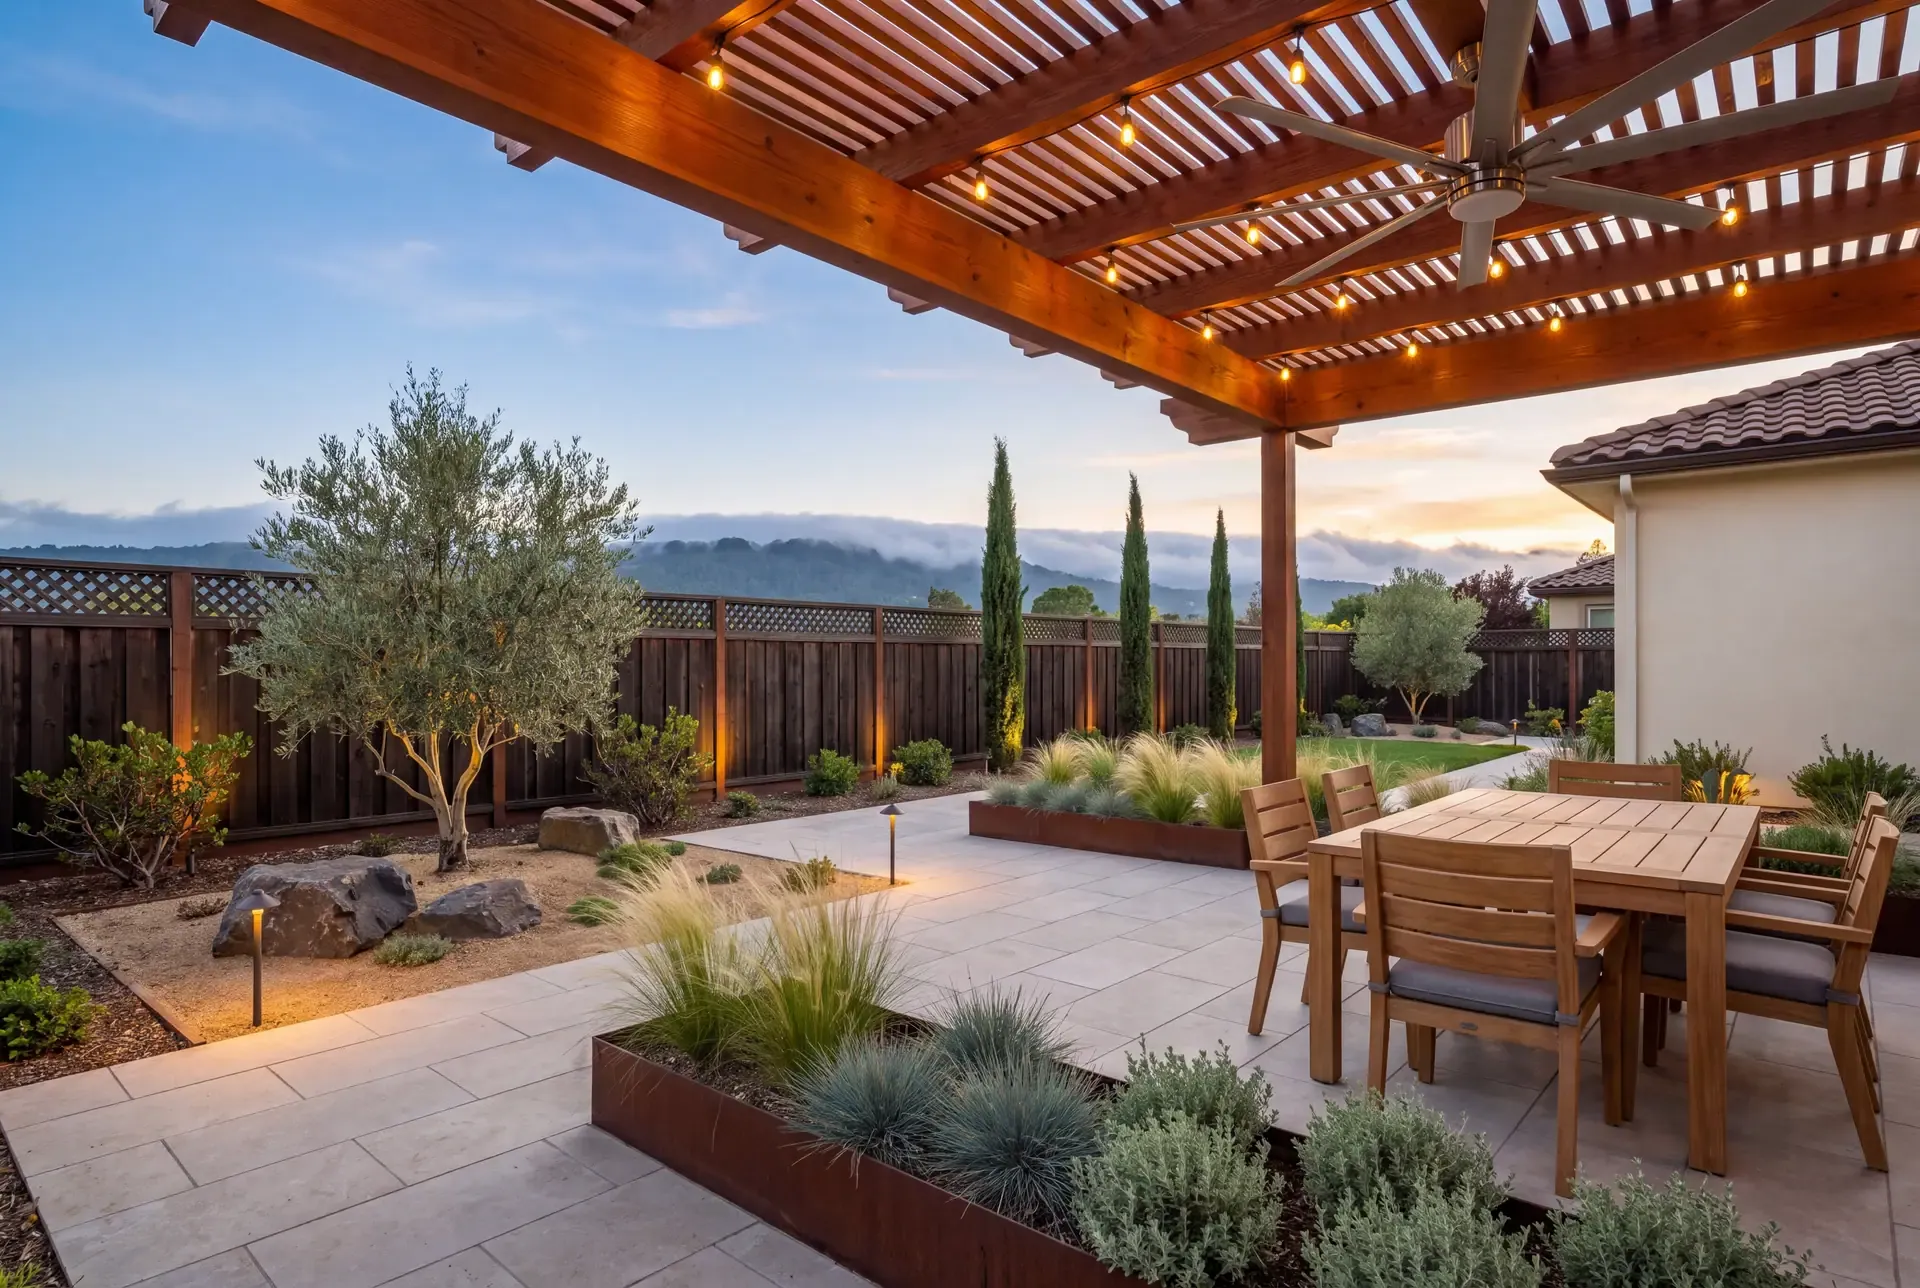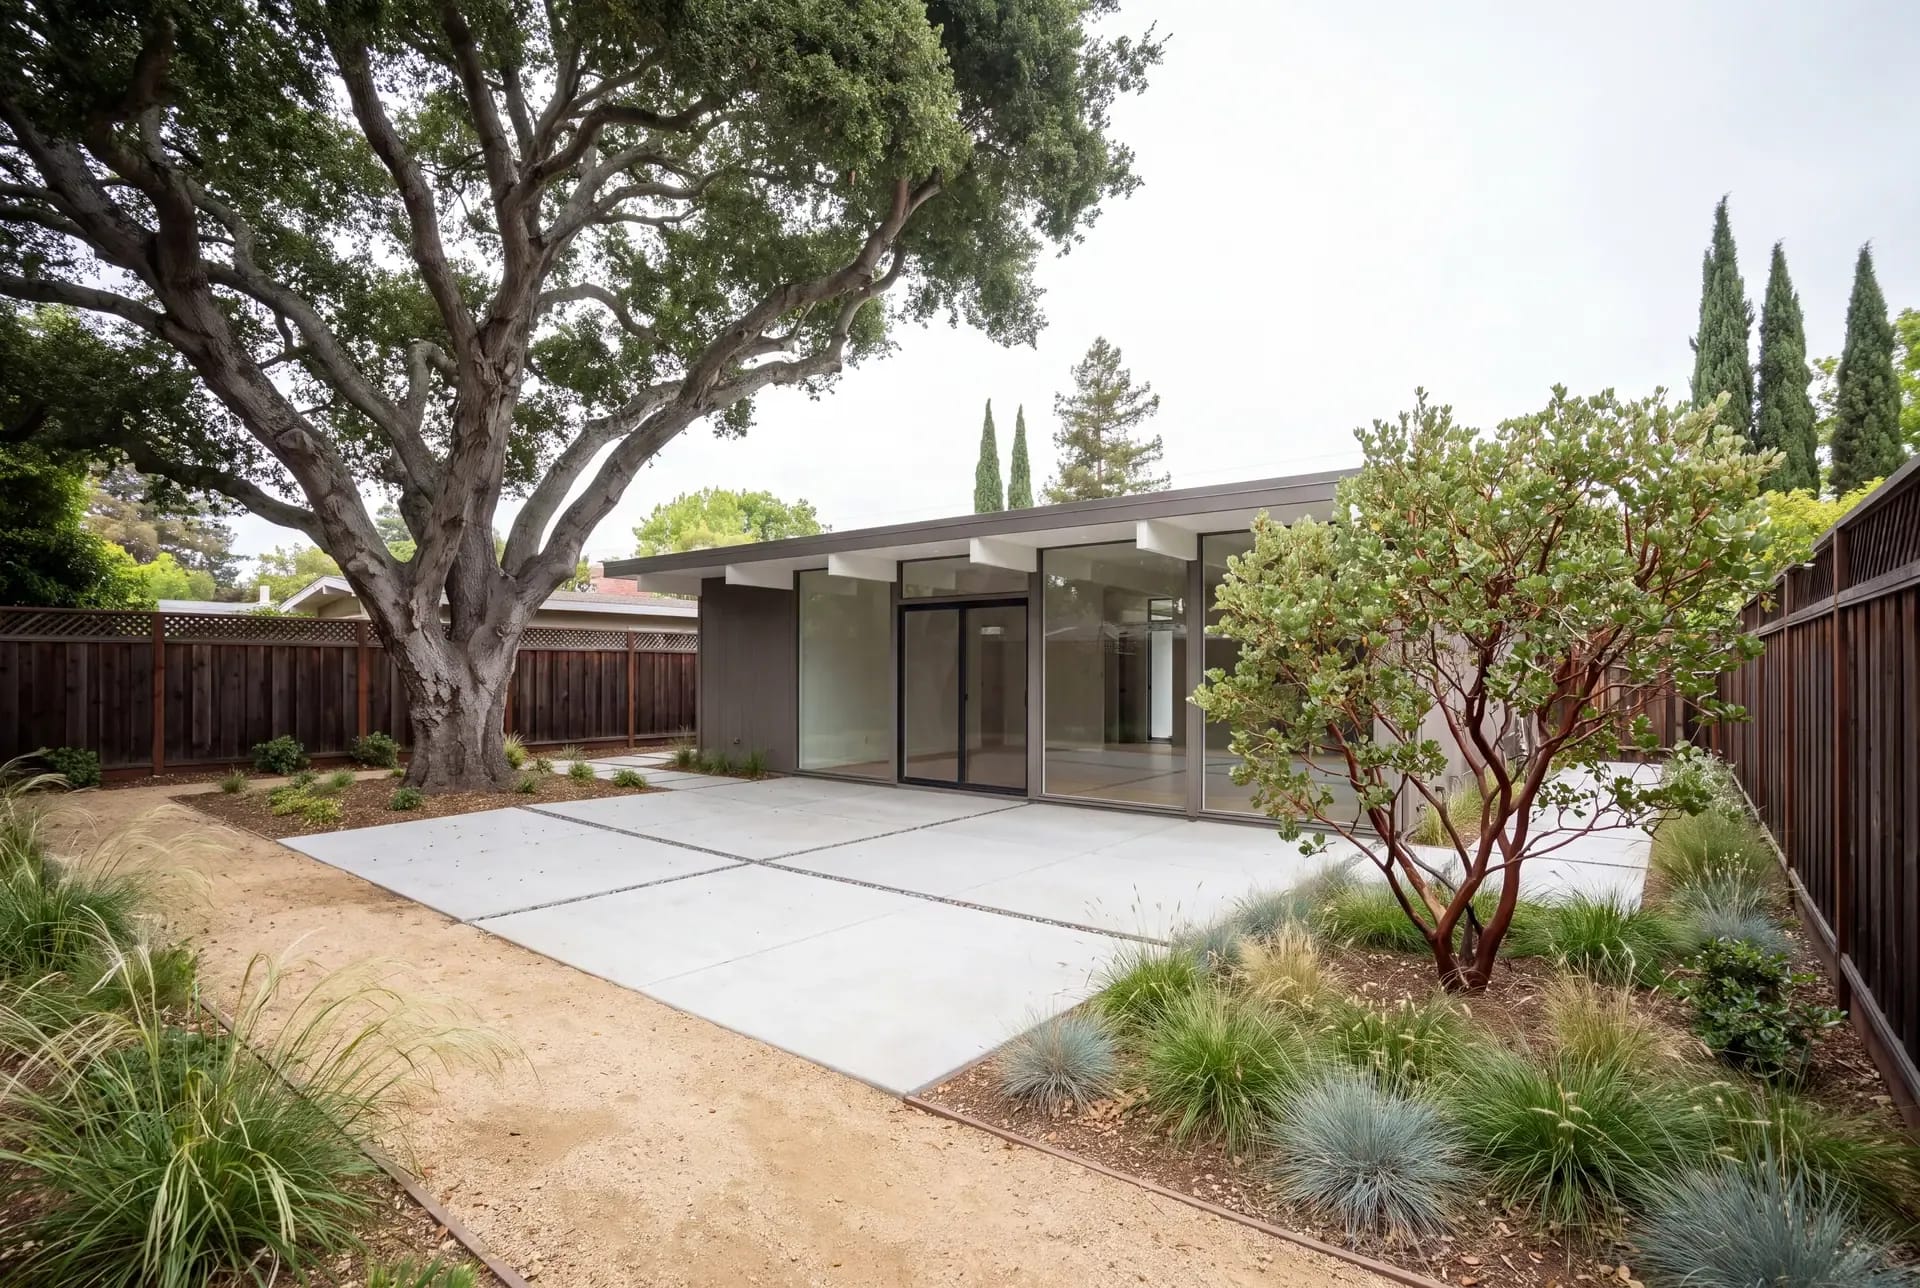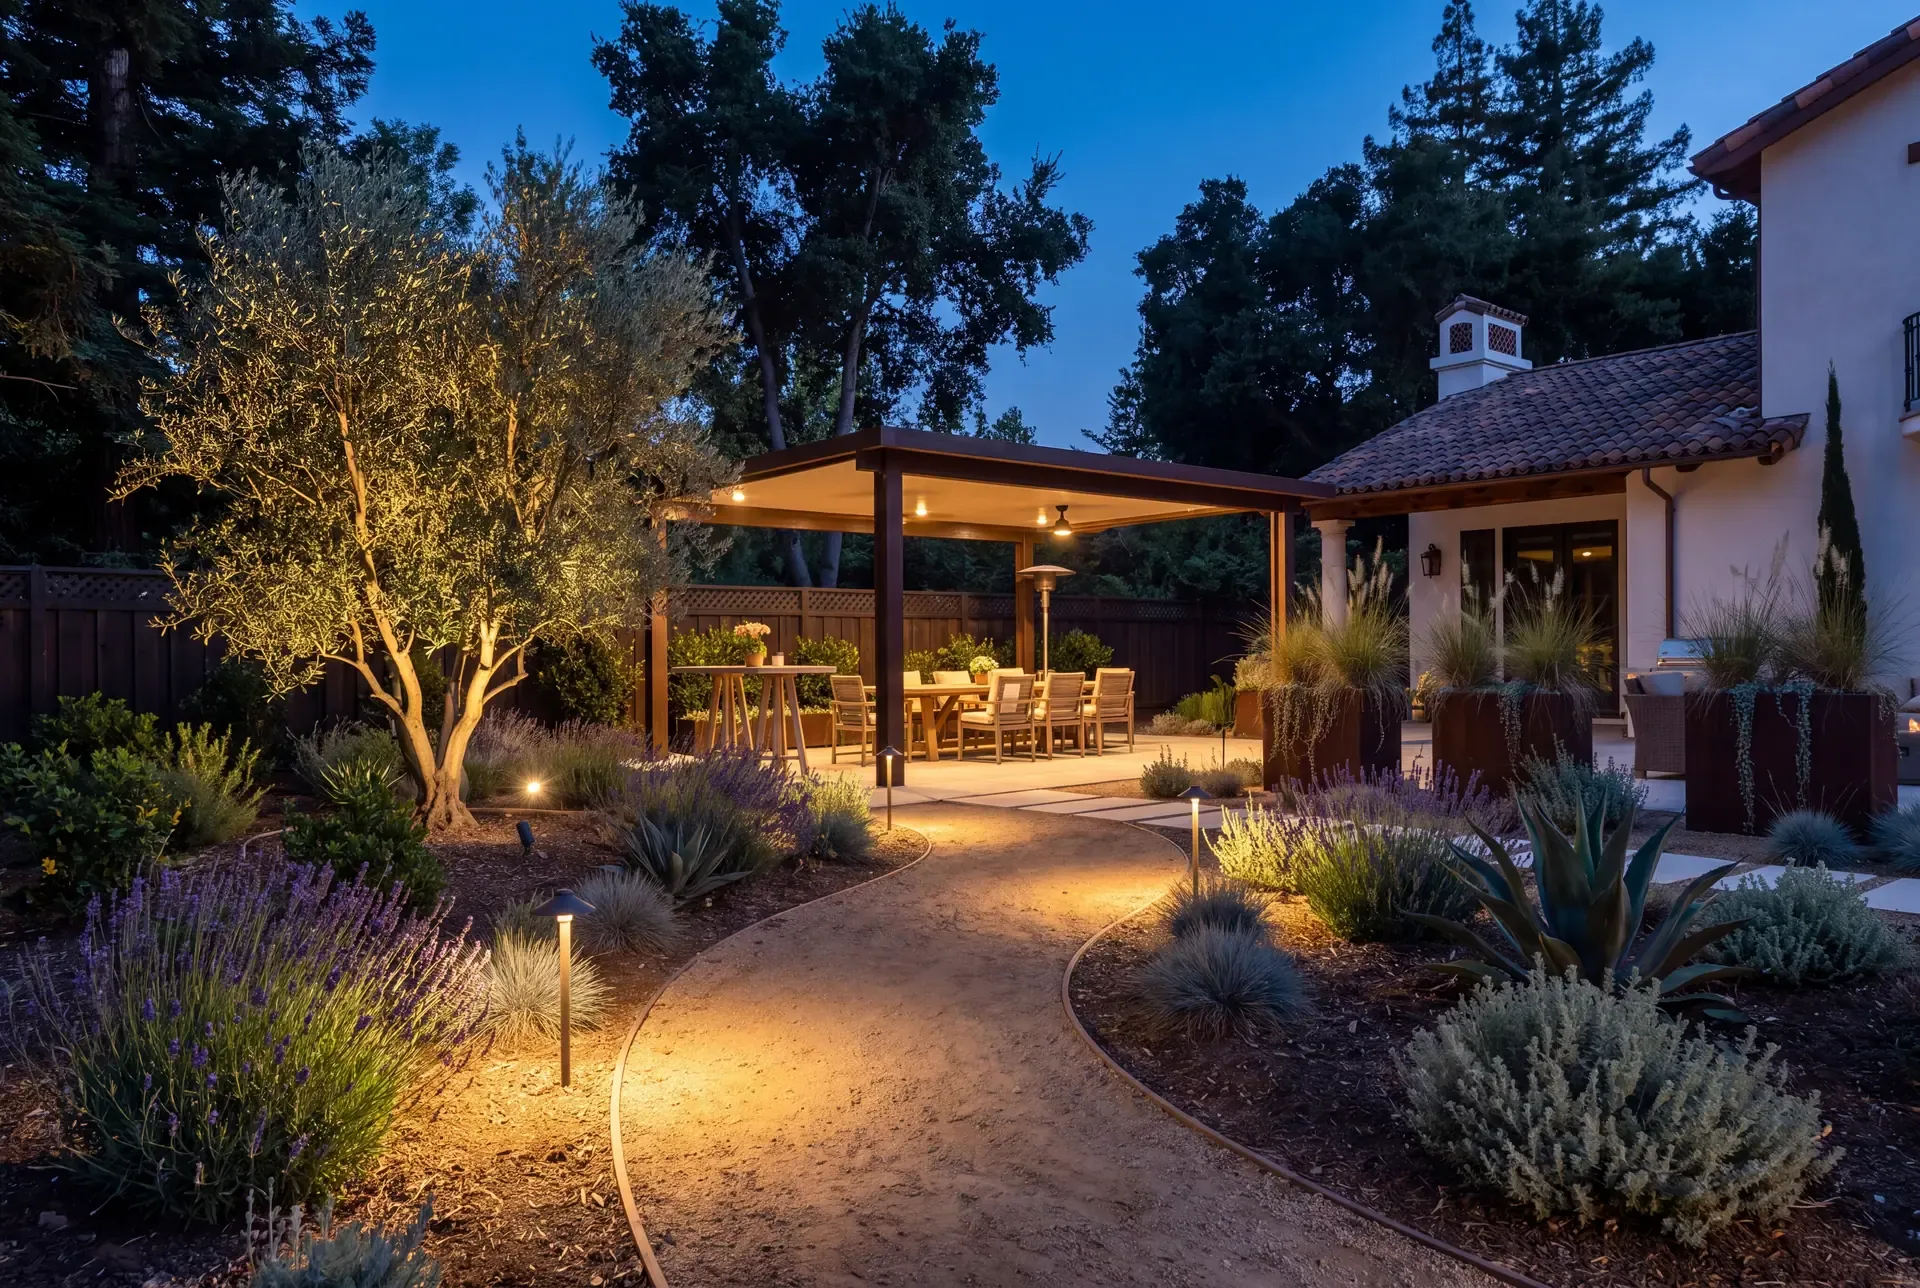
Good outdoor lighting lets you use your backyard after dark. Bad outdoor lighting lets your neighbour use it too — unintentionally, through their bedroom window. Dark-sky-friendly design is not about dim, unlit yards. It is about putting the right amount of light exactly where you need it and nowhere else.
The Principles: Direction, Colour, Intensity, Duration
Every dark-sky lighting decision flows from four principles articulated by the International Dark-Sky Association and reflected in a growing number of local outdoor-lighting ordinances across California.
Direction: full cut-off, always. A fully shielded fixture directs all light output below the horizontal plane. No bulb or LED is visible when you look at the fixture from the side or above. This eliminates the two most common lighting problems: glare (the bright spot that blinds you when you look toward the source) and light trespass (light that crosses your property line onto a neighbour's lot). The fixture housing should be opaque on the top and sides, with the light source recessed deep enough that you cannot see it from an angle above the fixture.
Colour: warm, not white. Colour temperature is measured in Kelvin. Outdoor lighting should sit between 2700K and 3000K — the warm white range that looks amber or soft gold. Above 3000K, light shifts toward cool white and then blue-white. Blue-wavelength light scatters more in the atmosphere (creating sky glow), disrupts circadian rhythms, and is disproportionately harmful to nocturnal wildlife — including the Bay Area's bat and owl populations. The American Medical Association has issued guidance recommending 3000K or lower for outdoor lighting to minimize circadian disruption and glare.
Intensity: enough, not more. More lumens do not make a space more usable — they make it brighter, which forces your eyes to adapt to the brightest thing in view, reducing your ability to see into darker areas. Path lights need 50 to 100 lumens each. Step lights need 25 to 50 lumens per tread. A dining-area downlight needs enough to read a menu, not enough to read a newspaper at arm's length. If you can see the fixture as a bright dot from 30 feet away, it is too bright.
Duration: on when needed, off when not. Timers, motion sensors, and smart-home controls keep lights off when no one is in the yard. A photocell that turns everything on at dusk and off at dawn wastes energy, contributes unnecessary light pollution, and — in a region with active nocturnal wildlife — disrupts animal behaviour. Motion-activated pathway and security lighting, combined with manually switched or timer-controlled ambient and accent lighting, gives you light when you use the yard and darkness when you do not.
The Three Layers of Outdoor Lighting
A well-lit backyard uses three distinct layers, each on its own circuit so they can be independently dimmed or switched.
Ambient lighting provides overall low-level illumination — enough to see the shape of the space, navigate without a flashlight, and create a comfortable atmosphere. The workhorses here are downlights mounted under pergola beams or in tree canopies, shielded wall sconces on the house exterior, and indirect light bounced off a fence or a wall rather than aimed directly into the yard. Ambient light should be the first layer you design and the last one you turn up.
Task lighting puts focused light on specific activities: cooking at an outdoor kitchen, eating at a dining table, reading a book on a bench, walking a path. Task lights are brighter and more directional than ambient lights, but they should still be shielded. Under-counter LED strips in an outdoor kitchen cast light on the work surface without shining into anyone's eyes. A pendant fixture over a dining table with an opaque shade directs light down onto the tabletop. Path lights with internal baffles cast a downward cone that illuminates the ground without producing a visible bright spot at the fixture head.
Accent lighting is the smallest part of the system: a single shielded uplight at the base of a specimen tree, a wall-wash fixture grazing a textured stone wall, or a recessed step light on a stair tread. Accent lighting draws attention to a feature. It should be subtle — the light reveals the object, not itself. An uplight on a coast live oak should make the trunk and lower canopy glow softly without sending light into the sky above the tree. A tree canopy naturally traps upward light; the fixture should be aimed to stay within it.
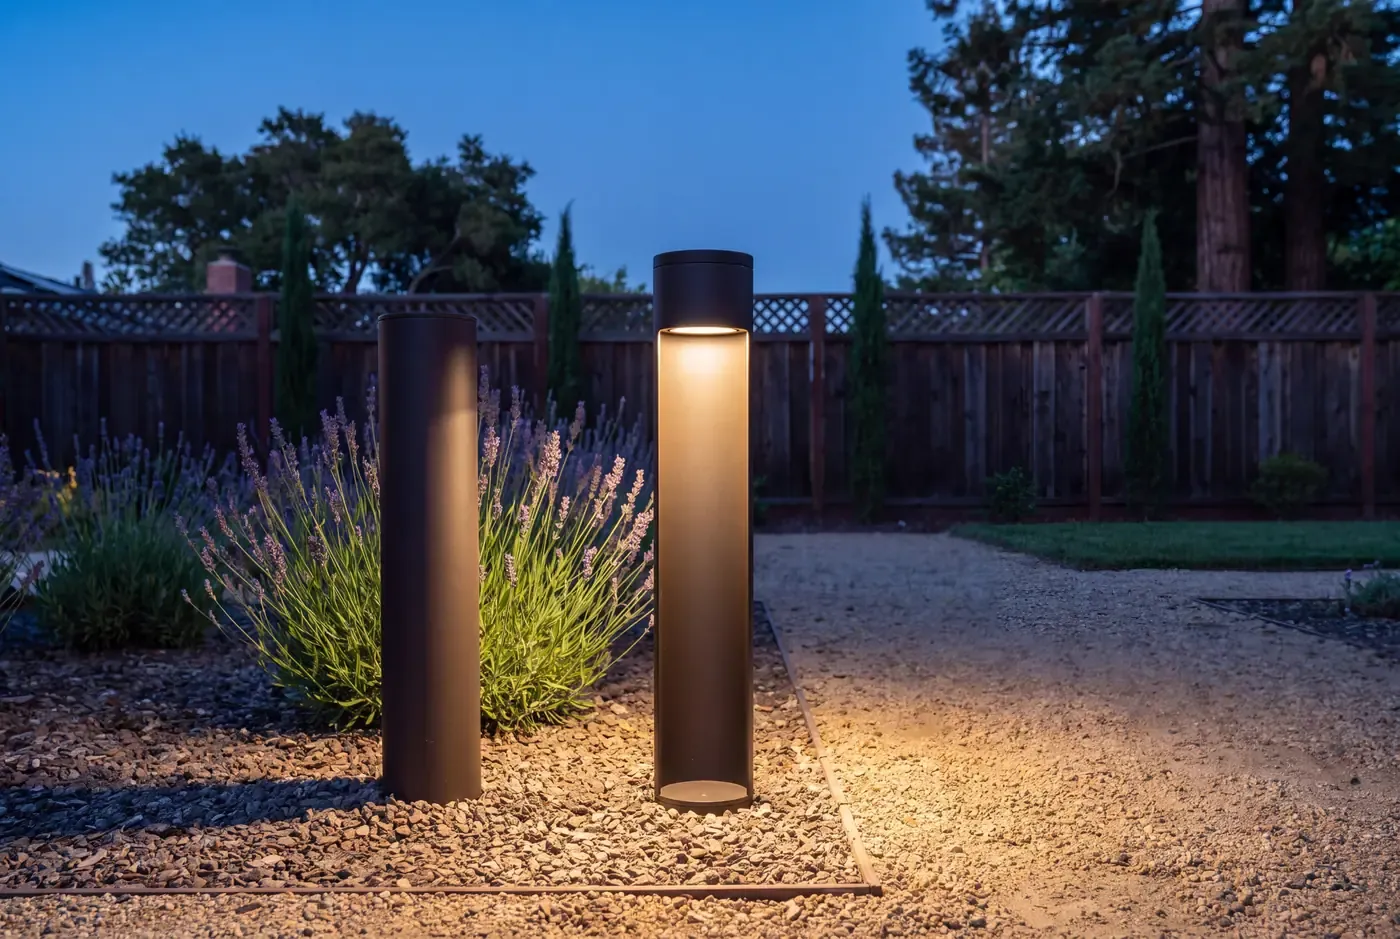
Fixture Selection and Placement
The right fixture in the wrong position is still a bad light. A few placement rules:
- Set fixtures back from property lines. A path light 2 feet from the fence line will cast light across it. Move it 5 feet inside and the beam pattern stays within your yard.
- Aim uplights carefully. A ground-level uplight aimed at a 45-degree angle will send roughly half its output above the target if it is not fully shielded. Use fixtures with integrated glare shields or hoods that contain the beam.
- Mount wall sconces at eye level or below. A sconce mounted at 7 feet on a wall reads as a visible light source from neighbouring properties. Mount it at 5 to 6 feet, or choose a downlight-only sconce whose light output is entirely below the fixture.
- House-side shields exist. For fixtures near a property line, a simple metal shield attached to the side of the fixture housing blocks the portion of the beam that would otherwise cross the fence. This is a standard accessory for most quality fixture lines.
Local Considerations in the South Bay
Most South Bay cities do not have dedicated outdoor-lighting ordinances — they rely on the California Energy Code (Title 24, Part 6), which includes mandatory requirements for outdoor lighting efficacy, automatic shut-off controls, and, in some cases, motion-sensor requirements for certain fixture types. Title 24 is a performance standard, not a design guideline, which means it mandates energy efficiency but does not explicitly require full cut-off or warm colour temperature.
Some Peninsula cities — Palo Alto and Los Altos among them — have added or are considering local outdoor-lighting provisions that go beyond Title 24, typically addressing light trespass and requiring shielded fixtures in new construction and major remodels. Check with your city's planning or building department during the permit phase to confirm current local requirements.
Beyond code, being a good neighbour means a walk-around after installation: stand at your property line at night and look back at your yard. If you can see a bright fixture housing or a visible beam, adjust it. If your neighbour can read by the light coming through their window, it is too bright.
Integrating Lighting Into the Landscape, Not On Top of It
The best outdoor lighting plan is one you do not notice during the day. Fixtures should be chosen and placed so they recede into the planting or hardscape, not sit on top of it like afterthoughts.
In-grade fixtures. Uplights and well lights recessed into the ground or paving are nearly invisible during the day. They require a gravel drainage sump beneath the fixture housing to prevent water pooling around the lens, and they need a rock guard or a tempered glass lens that can handle foot traffic if placed in a walkable area. In-grade fixtures work best for uplighting trees, grazing walls, and illuminating columns or architectural features from below.
Stake-mounted path lights. The standard mushroom or cone path light on a spike is functional but visually prominent. Alternatives include bollard-style lights with a heavier architectural presence (better for contemporary landscapes), or recessed paver lights that sit flush with the paving surface (better for clean-lined modern yards). Whichever style you choose, the fixture should be joined by a consistent color and material language — dark bronze, matte black, or a natural metal finish that weathers — rather than a mix of whatever was on sale.
Conduit planning. The biggest retrofit regret with outdoor lighting is conduit that was never run. A lighting plan developed during the design phase, before paving or planting, allows for PVC conduit runs under patios, through retaining walls, and along fence lines — all buried and invisible. R&R specifies lighting conduit as part of our landscape design, alongside irrigation and drainage lines, so all three underground systems are coordinated in one trench plan.
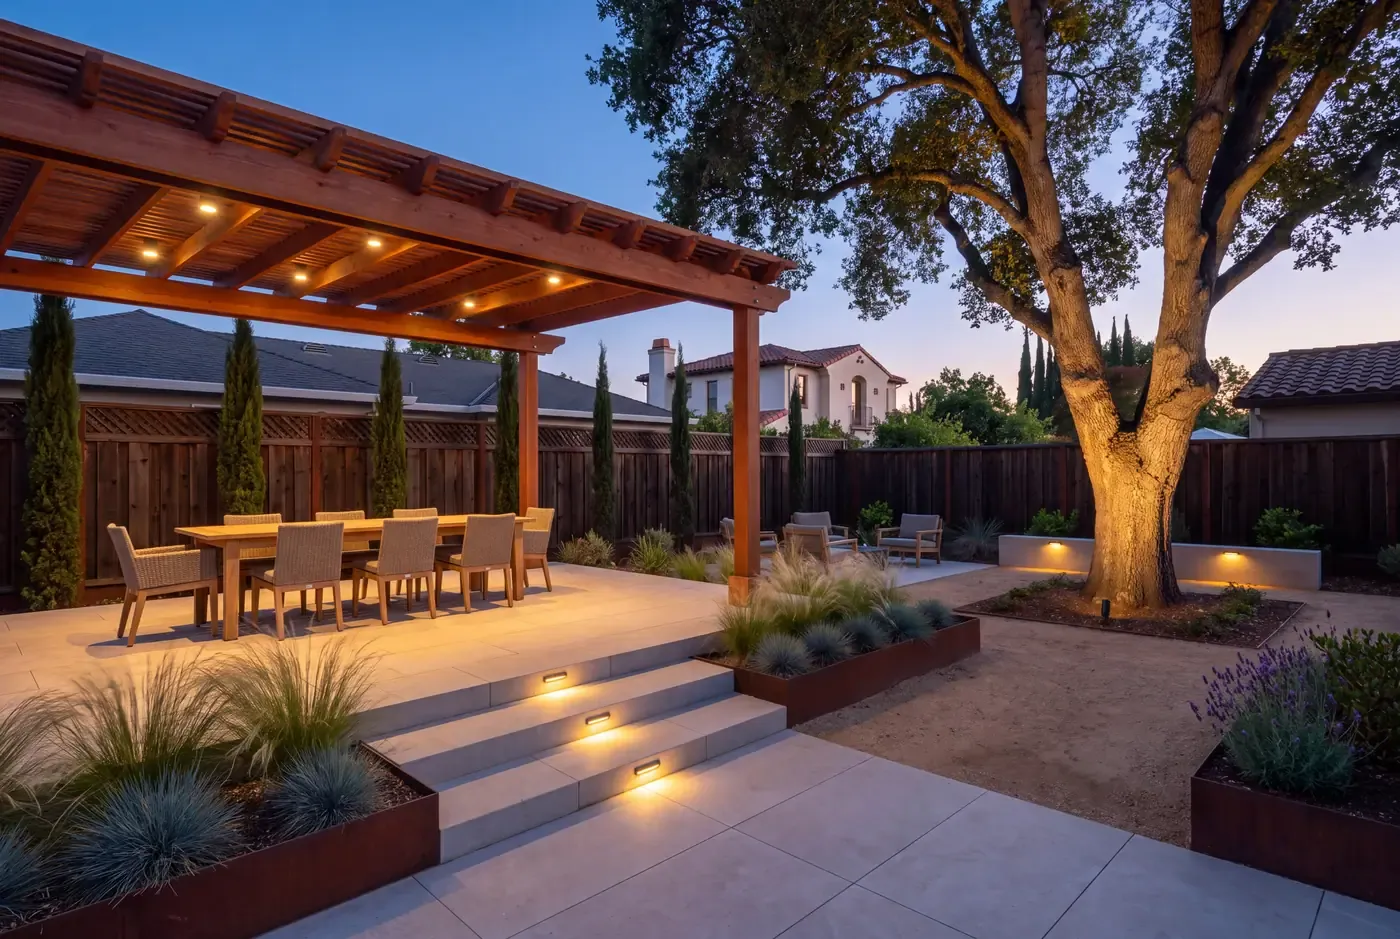
Lighting for Specific Backyard Features
Different features need different lighting approaches:
Outdoor kitchens. Task lighting is the priority here — under-counter LED strips that illuminate the grill and prep surfaces without shining into the cook's eyes. A shielded pendant over a bar or serving counter adds ambient light without glare. Avoid putting bright lights behind the cook, which creates silhouettes and makes food preparation harder to see. Our outdoor kitchen covers the structural side; lighting is designed in parallel.
Pools and water features. Submerged LED pool lights are standard and effective, but the surrounding hardscape needs its own layer. Step lights on pool entry stairs and low-level path lights along the pool deck prevent trips without creating glare on the water surface. An uplight on a waterfall or fountain feature reads beautifully at night but should be on a separate circuit from the pool lights so it can be dimmed or switched independently.
Pergolas and patio covers. A pergola is the natural home for ambient downlights. Small, recessed LED fixtures mounted in the beams — or surface-mounted puck lights on the underside of the top members — cast even light on the seating or dining area below. These should be fully shielded (the fixture housing should extend below the light source so you cannot see the diode from 10 feet away at eye level) and dimmable. Our patio covers can integrate lighting conduit during construction.
Garden beds and planting. Accent lighting in planting beds is best kept minimal. A single shielded uplight at the base of a specimen manzanita or western redbud is more effective than a row of path lights illuminating mulch. If you want to light a planting bed for evening strolls, use low-output path lights at 15- to 20-foot spacing rather than a continuous run — the gaps between pools of light are part of the experience, and your eye adjusts to the darkness between them.
Bringing Dark-Sky Lighting Into a Backyard Design
R&R Backyard Remodeling integrates lighting into our landscape design process as a distinct layer, not an afterthought. The lighting plan is developed alongside the hardscape and planting plans, with conduit runs specified before paving or planting begins. This allows for fixture placements that would be impractical to retrofit — step lights cast into stair risers during concrete work, in-grade uplights with drainage sleeves, and pergola downlight wiring run through the structure before the roof goes on.
Good outdoor lighting is mostly invisible during the day. The fixtures recede into the landscape; the wiring is underground. At night, the yard becomes usable without announcing itself to the neighbourhood. That balance — presence without intrusion — is the entire point.
If you are planning a backyard project and want lighting designed into it from the start, contact us. We design lighting alongside the hardscape, structure, and planting — not as a bolt-on after construction.